> ## Documentation Index
> Fetch the complete documentation index at: https://docs.skyfree.io/llms.txt
> Use this file to discover all available pages before exploring further.
# Cloudflare for SaaS
> Connect Cloudflare so customers can attach their own custom domains.
**Included with every self-managed instance.** This tab is part of [Whitelabel Setup](/self-host/whitelabel-setup/overview).
## What is this?
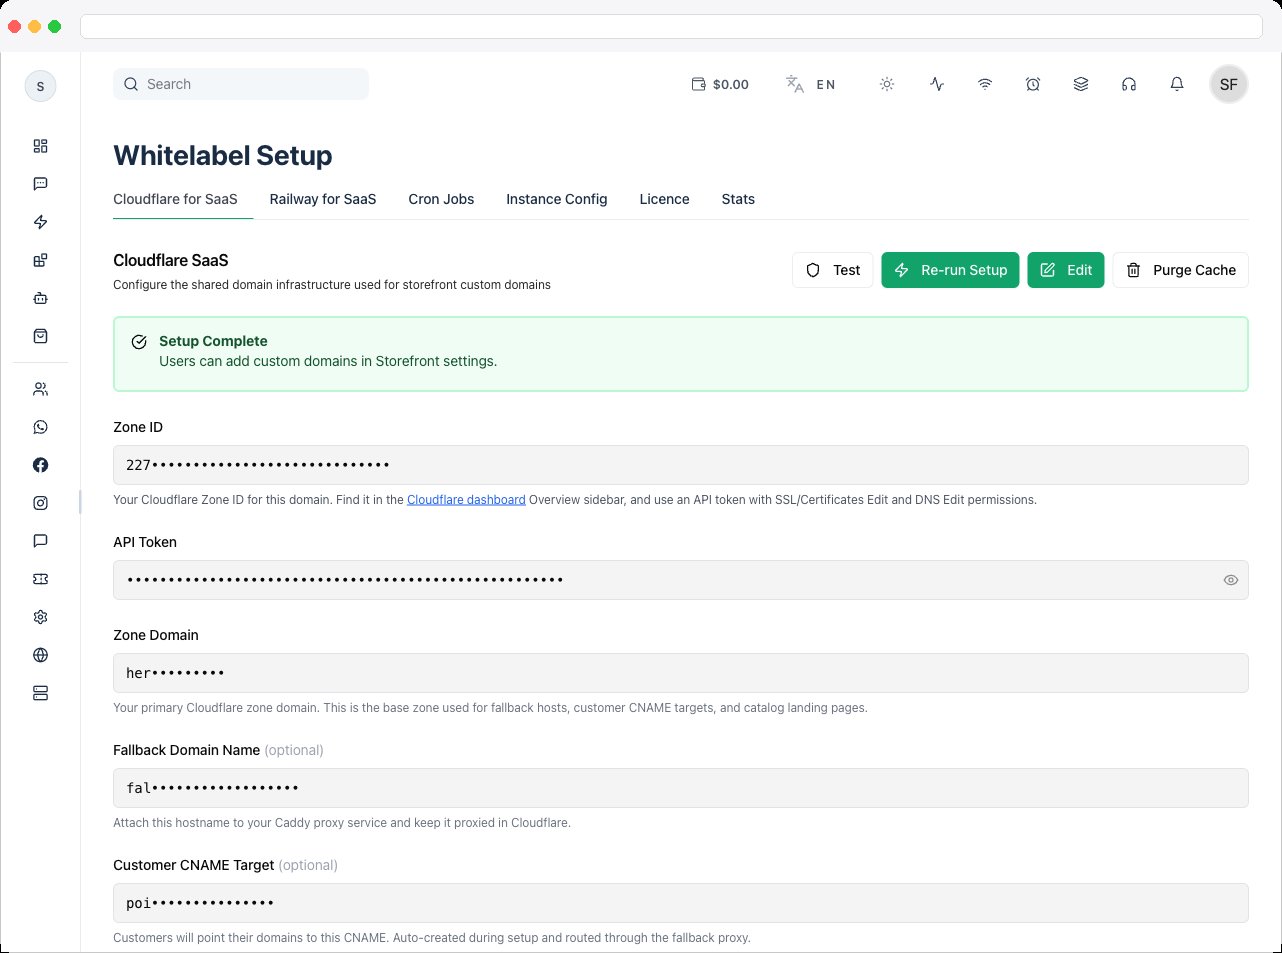
The **Cloudflare for SaaS** tab configures the shared domain infrastructure used for storefront custom domains. It connects your instance to a Cloudflare zone so that your customers can point their own domains at their Storefront and have Cloudflare automatically issue SSL certificates and route traffic for them.
 ## What can I do here?
* Enter your Cloudflare **Zone ID** and **API Token** (an API token with SSL/Certificates Edit and DNS Edit permissions).
* Set the **Zone Domain** — your primary Cloudflare zone domain, used as the base for fallback hosts, customer CNAME targets, and catalog landing pages.
* Optionally set a custom **Fallback Domain Name** and **Customer CNAME Target** (both default to values based on your zone name if left blank).
* Manually enter a **DCV Delegation Target** if Cloudflare's automatic DCV detection fails during setup.
* Toggle custom domains on/off with the enabled switch ("Custom domains enabled" / "Custom domains disabled").
* Click **Test** to verify your Zone ID/API Token connection against Cloudflare.
* Click **Auto-Setup** (or **Re-run Setup** once setup has already run) to have the system configure the fallback origin, DCV, and DNS records automatically, with a step-by-step status list.
* Click **Purge Cache** to purge the Cloudflare cache for the zone.
* Click **Edit** to unlock the fields for editing, then **Save** to persist changes (or **Cancel** to discard).
## How to use it
1. Click **Edit** to unlock the form.
## What can I do here?
* Enter your Cloudflare **Zone ID** and **API Token** (an API token with SSL/Certificates Edit and DNS Edit permissions).
* Set the **Zone Domain** — your primary Cloudflare zone domain, used as the base for fallback hosts, customer CNAME targets, and catalog landing pages.
* Optionally set a custom **Fallback Domain Name** and **Customer CNAME Target** (both default to values based on your zone name if left blank).
* Manually enter a **DCV Delegation Target** if Cloudflare's automatic DCV detection fails during setup.
* Toggle custom domains on/off with the enabled switch ("Custom domains enabled" / "Custom domains disabled").
* Click **Test** to verify your Zone ID/API Token connection against Cloudflare.
* Click **Auto-Setup** (or **Re-run Setup** once setup has already run) to have the system configure the fallback origin, DCV, and DNS records automatically, with a step-by-step status list.
* Click **Purge Cache** to purge the Cloudflare cache for the zone.
* Click **Edit** to unlock the fields for editing, then **Save** to persist changes (or **Cancel** to discard).
## How to use it
1. Click **Edit** to unlock the form.
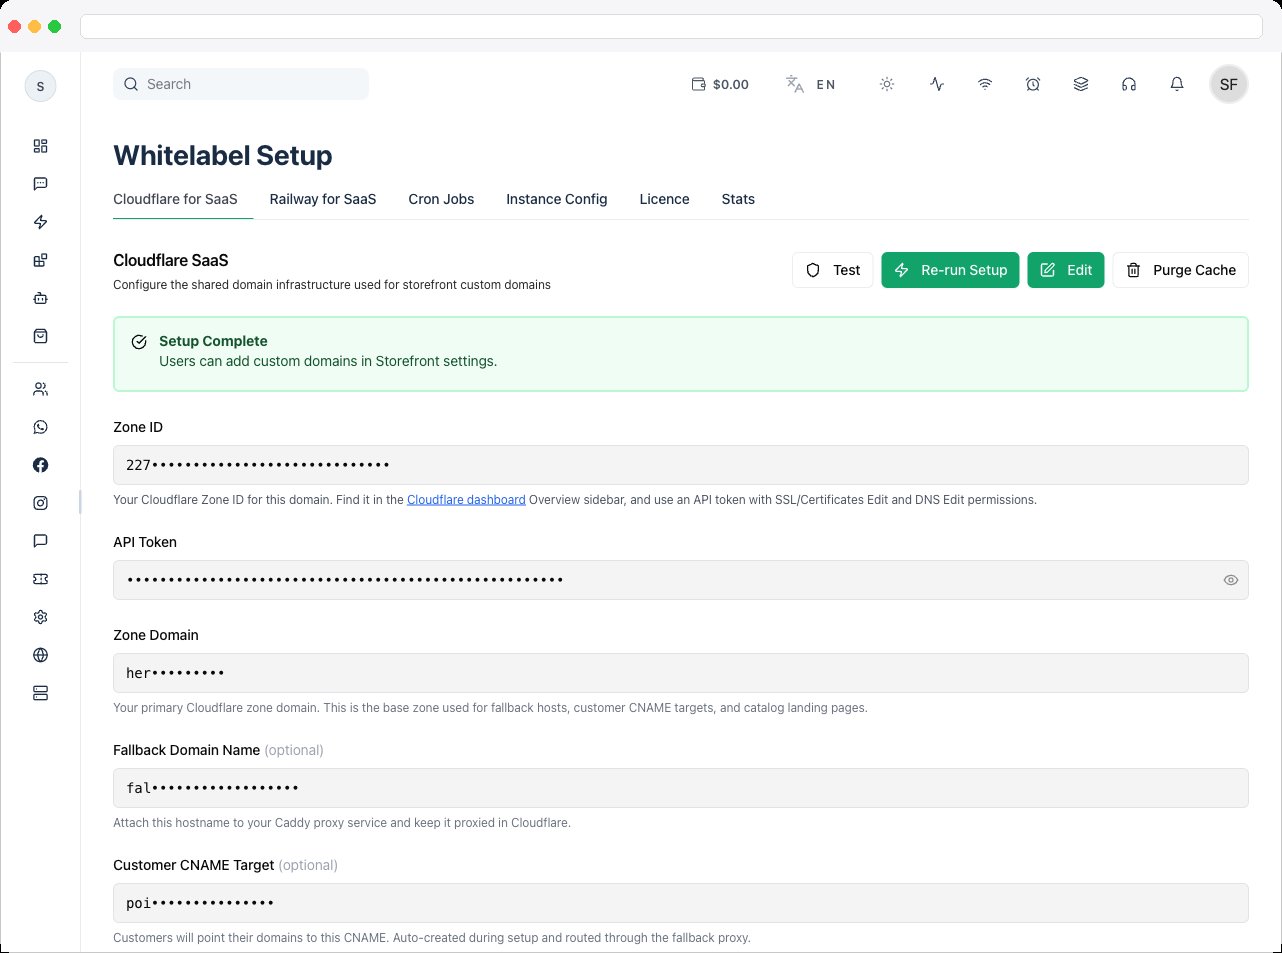 2. Enter your **Zone ID** and **API Token** from the [Cloudflare dashboard](https://dash.cloudflare.com) Overview sidebar. The API token needs SSL/Certificates Edit and DNS Edit permissions.
3. Enter the **Zone Domain** — your primary Cloudflare zone domain (e.g. `example.in`).
4. Optionally set a **Fallback Domain Name** and **Customer CNAME Target** if you don't want to use the auto-generated defaults (`fallback.{zoneName}` and `store.{zoneName}`).
5. Click **Save**. If you set a Fallback Domain Name or Customer CNAME Target, auto-setup runs automatically after saving.
2. Enter your **Zone ID** and **API Token** from the [Cloudflare dashboard](https://dash.cloudflare.com) Overview sidebar. The API token needs SSL/Certificates Edit and DNS Edit permissions.
3. Enter the **Zone Domain** — your primary Cloudflare zone domain (e.g. `example.in`).
4. Optionally set a **Fallback Domain Name** and **Customer CNAME Target** if you don't want to use the auto-generated defaults (`fallback.{zoneName}` and `store.{zoneName}`).
5. Click **Save**. If you set a Fallback Domain Name or Customer CNAME Target, auto-setup runs automatically after saving.
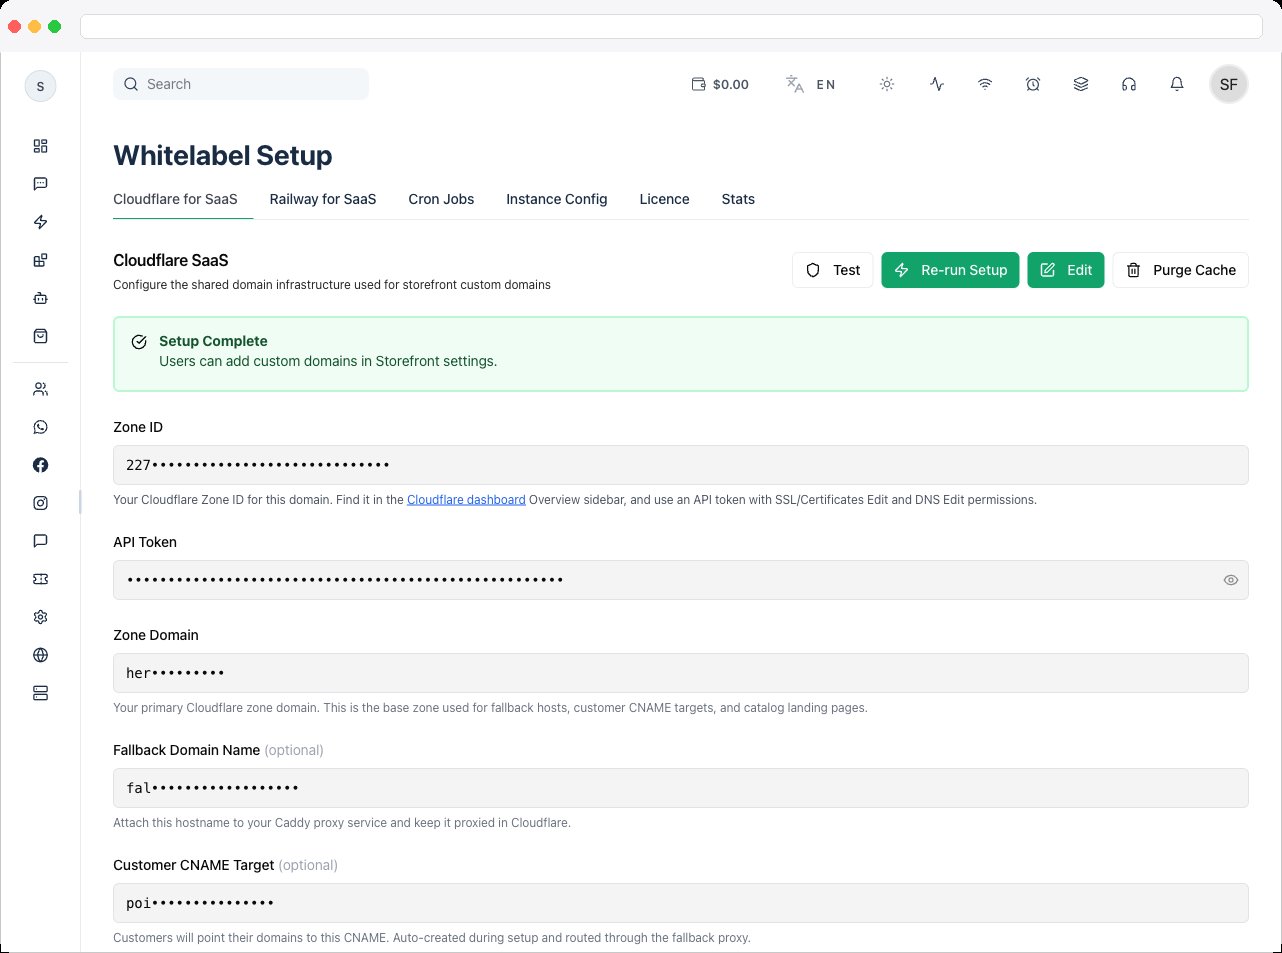 6. If a step shows as needing manual input (for example DCV delegation auto-detect failed), a **DCV Delegation Target** field appears — find the value in Cloudflare under **SSL/TLS → Custom Hostnames → DCV Delegation**, paste it in, and click **Save DCV**.
7. Once setup completes, review the **Auto-configured** section for the resulting Fallback origin, CNAME Target, and DCV values.
8. Turn on the **enabled** switch so users can add custom domains in their Storefront settings.
9. Use **Test** at any time to re-verify the Zone ID/API Token still connect successfully, and **Purge Cache** if you need to clear cached content for the zone after a change.
### How it works for users (end-customer flow)
This section explains what your own end customers experience once Cloudflare for SaaS is configured — shown directly on the page as reference:
1. You need a separate reverse-proxy server for custom domains, either with Nginx or by running the app in `APP_MODE=proxy` on a VPS server.
2. The customer enters their domain in Catalog Settings → Storefront and clicks Verify.
3. The system shows the CNAME record the customer must add at their domain registrar.
4. Cloudflare validates the hostname, SSL is auto-issued, and the domain goes live through the proxy.
6. If a step shows as needing manual input (for example DCV delegation auto-detect failed), a **DCV Delegation Target** field appears — find the value in Cloudflare under **SSL/TLS → Custom Hostnames → DCV Delegation**, paste it in, and click **Save DCV**.
7. Once setup completes, review the **Auto-configured** section for the resulting Fallback origin, CNAME Target, and DCV values.
8. Turn on the **enabled** switch so users can add custom domains in their Storefront settings.
9. Use **Test** at any time to re-verify the Zone ID/API Token still connect successfully, and **Purge Cache** if you need to clear cached content for the zone after a change.
### How it works for users (end-customer flow)
This section explains what your own end customers experience once Cloudflare for SaaS is configured — shown directly on the page as reference:
1. You need a separate reverse-proxy server for custom domains, either with Nginx or by running the app in `APP_MODE=proxy` on a VPS server.
2. The customer enters their domain in Catalog Settings → Storefront and clicks Verify.
3. The system shows the CNAME record the customer must add at their domain registrar.
4. Cloudflare validates the hostname, SSL is auto-issued, and the domain goes live through the proxy.