

What is this?
The Chat Widget builder lets you create and customize the chat widget that appears on your website. You edit each setting group in its own tab and see the result in a Live Preview panel beside them, then copy the installation code onto your site.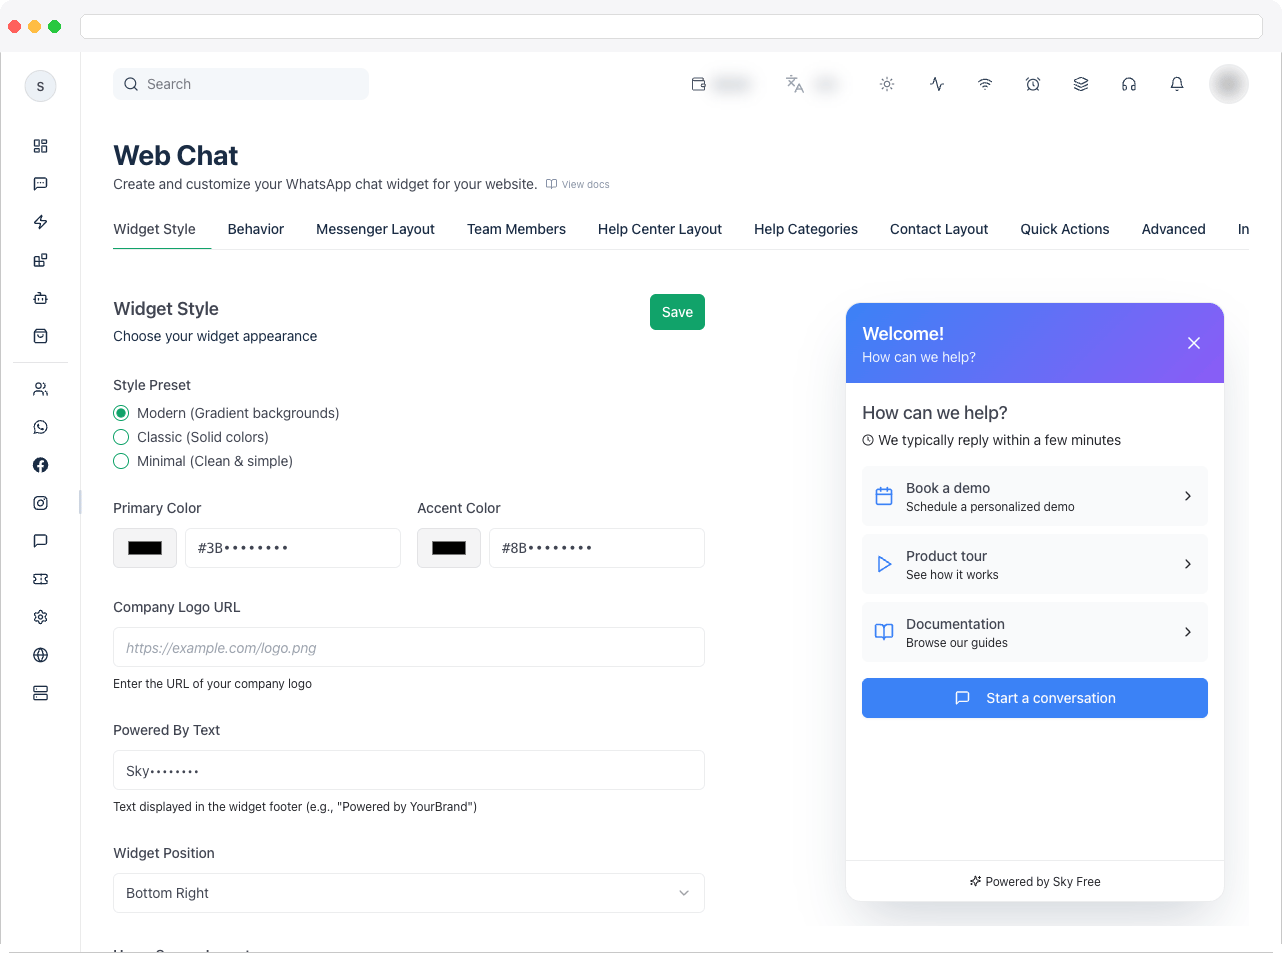
The builder requires the
widgetbuilder:view permission, an active channel with Web Chat connected, and a plan that includes Web Chat. Some options — such as brand customization of the “Powered by” text — depend on your plan.What can I do here?
- Choose a Style Preset, Primary Color, Accent Color, Company Logo URL, and Widget Position
- Pick a Home Screen Layout: Messenger, Help Center, or Contact
- Turn Live Chat on or off, require cookie consent, and set up Proactive Chat invitations
- Manage team member avatars, help category shortcuts, or quick action buttons, depending on the layout
- Fine-tune Font Family, Button Style, Shadow Intensity, and Animation Speed under Advanced
- Copy the Installation Code for your website
- Preview the widget — including its home, article, and chat screens — before you publish
How to use it
Go to Web Chat → Chat Widget. Each tab has its own Save button — save the tab you’re editing before you switch to another one. The Messenger Layout, Help Center Layout, and Contact Layout tabs, and the tabs that go with them, appear according to the Home Screen Layout you choose on the Widget Style tab.- Widget Style
- Behavior
- Messenger Layout
- Team Members
- Help Center Layout
- Help Categories
- Contact Layout
- Quick Actions
- Advanced
- Installation Code
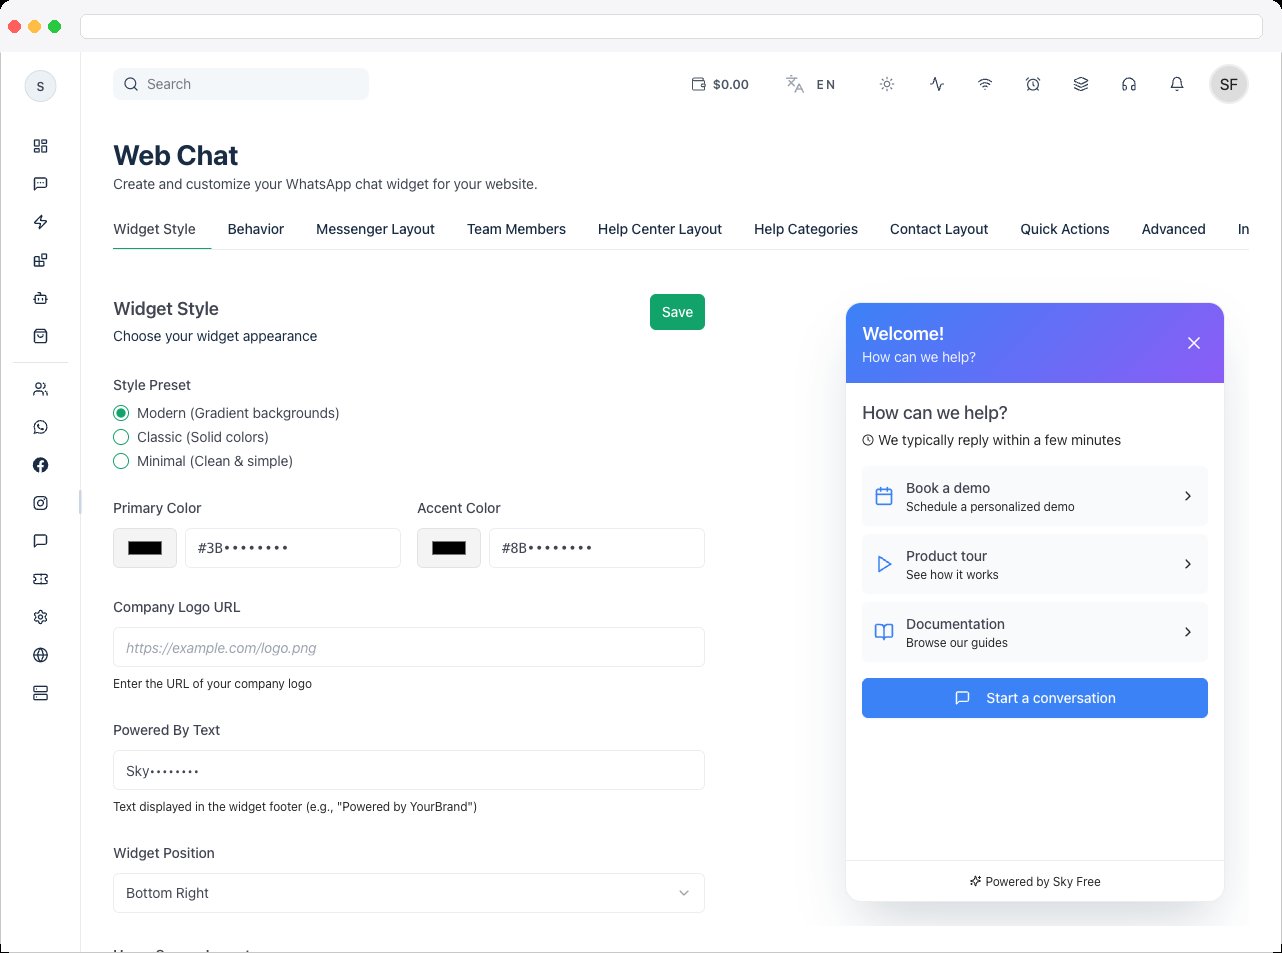
- Choose a Style Preset: Modern (gradient backgrounds), Classic (solid colors), or Minimal (clean and simple).
- Set the Primary Color and Accent Color, and enter a Company Logo URL.
- Choose the Widget Position: Bottom Right, Bottom Left, Top Right, or Top Left.
- Choose the Home Screen Layout — Messenger, Help Center, or Contact — which decides what visitors see when the widget opens.
-
Click Save.
Troubleshooting / Technical Notes
- “Please save your web chat widget first to manage.” Create and save the widget before using Live Monitoring or the Knowledge Base.
- “Invalid domain.” Use a valid HTTPS URL for your site.
- The widget doesn’t appear on my site. Confirm the installation code is on the page and the page uses HTTPS. Then open Live Monitoring to see whether visits are being recorded.
- Changes aren’t showing. Click Save on the tab you edited — each tab saves separately.
- Brand customization is locked. “Upgrade your plan to enable brand customization” means your plan doesn’t include changing the Powered By text.