

What is this?
Integration steps let your automation reach outside the platform: fetch or send data with an API, work with a Google Sheet or Calendar, look up or update a store order, or connect to your events. They work on every channel.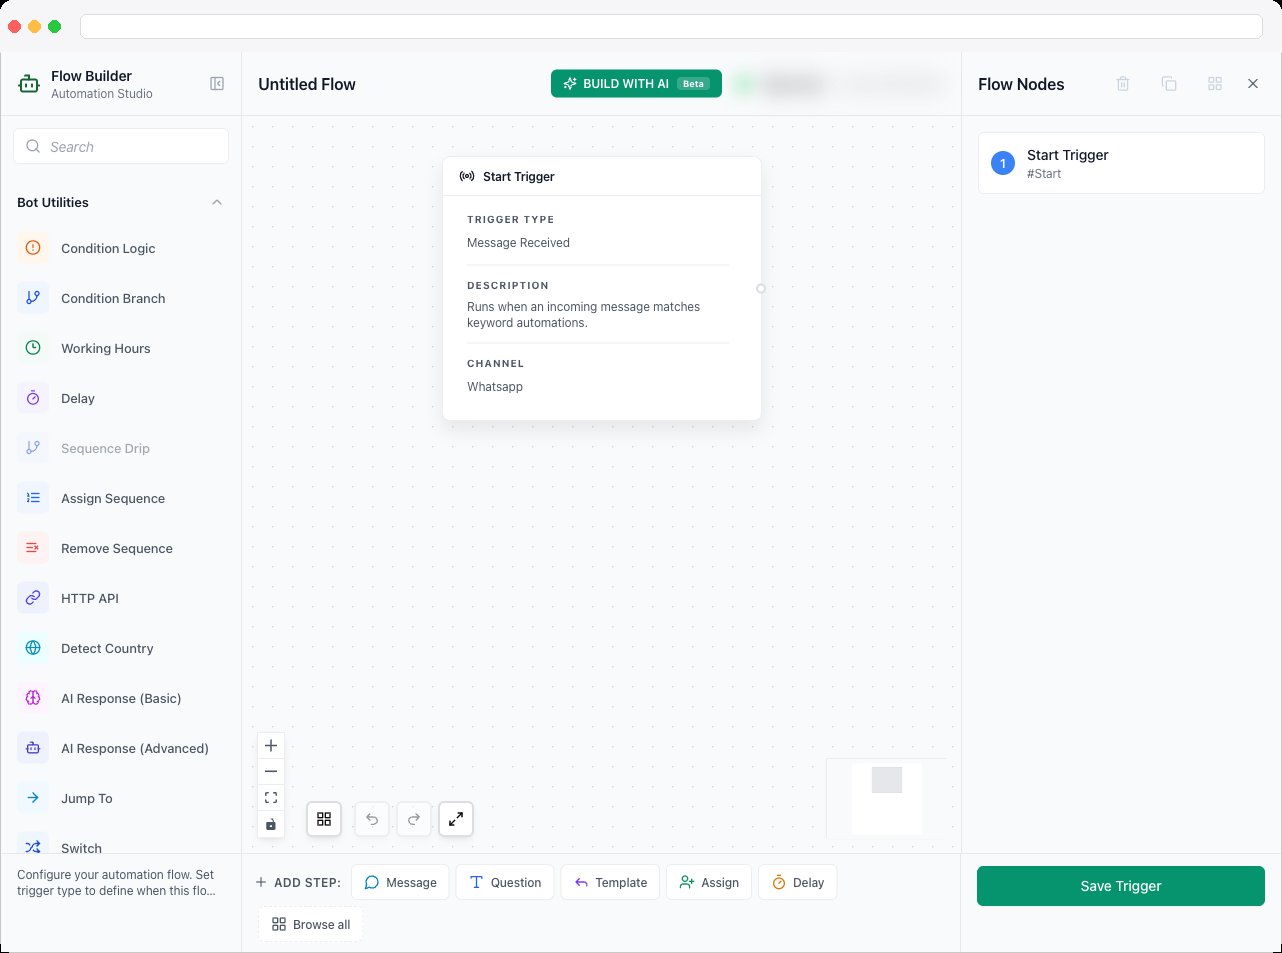
What can I do here?
How to use it
HTTP API
What it does: makes a request to any web service — yours or someone else’s — and can save data from the reply into contact fields. When to use it: looking up an order, creating a record in your CRM, checking stock, or telling your own system something happened.- HTTP Method — GET, POST, PUT, PATCH, or DELETE.
- Request URL (required) — the address. You can add variables into it.
- Query Parameters and Headers — add name/value pairs, such as an
Authorizationheader. - Request Body (JSON) — the data to send, with variables if you like.
- Use the Response Preview to see the reply.
- Response Mapping — click Add Mapping, choose a JSON Path in the reply (for example
data.user.name), and the field to store it in. You can also apply an optional transformation.
Requests are made from the platform’s servers, with protection against calls to internal addresses.
Google Sheets
What it does: adds a row, updates a row, or fetches a value from a Google Sheet. When to use it: logging leads or orders in a spreadsheet, or reading a price list. First connect your Google account — see Google. Then:- Operation (required) — Add New Row, Update Row, or Fetch Row Value.
- Select Sheet and Select Tab.
- For Add New Row, use Column Values to map each column to a value (variables work).
- For Update Row, choose the Reference Column and Reference Value used to find the row, then set the Columns to Update.
- For Fetch Row Value, set the Search Criteria (with AND matching) and choose which Fetch Columns to save into which fields.
Google Calendar (beta)
What it does: creates a calendar event or retrieves events. When to use it: booking an appointment the customer chose, or checking if a slot is free.- Operation (required) — Create Event or Retrieve Events.
- Select Calendar, and optionally a Timezone (the default is the calendar’s own).
- Create Event: set the Event Title, Description, Location, Start Time, and End Time — either a direct time or Start Time + Minutes. Turn on All Day Event for whole-day events. Dates can be read from the customer’s message in several formats, such as
DD/MM/YYYY. - Retrieve Events: search by attendee email, keyword, and a From Date and To Date, set Max Results, and use Save Results to map fields like Event Title, Event Start Time, and Total Events Found into custom fields.
Find order (Shopify and WooCommerce)
What it does: looks up a customer’s order in your store and saves its details as variables you can use in later steps. It appears in the palette as Shopify · Find order and Woo · Find order. When to use it: “Where is my order?” replies — ask for an order number, look it up, and reply with the status and tracking link. The step has two exits: Found and Not found. Connect Found to a message that uses the details, and Not found to a message that asks again.- Store — which connected store to search. Leave it on This automation’s store unless you have several.
- Look up by:
- Order number — enter a variable that holds what the customer typed, for example from an Ask Text step. Use the + button to pick a variable.
- This contact’s phone number — finds their most recent order. Only the store’s most recent orders are searched.
- This contact’s email — finds their most recent order by email.
- Only show the contact’s own orders — on by default. The order’s phone number or email must match this contact, so nobody can read another customer’s order by guessing a number. Only turn it off if you truly want anyone with an order number to see its details.
woocommerce instead of shopify for WooCommerce):
Good to know: WooCommerce tracking details come from the Shipment Tracking plugin, if your store uses it.
Shopify · Update order
What it does: adds a tag to, or cancels, the Shopify order that started this automation. When to use it: on the Confirm and Cancel button paths of a COD message. See COD Confirmation.- Shopify store — leave on This automation’s store unless you need another.
- Action — Add tag to order or Cancel order.
- Tag — for example
cod-confirmed. - Cancellation reason — Customer request, Payment declined, Fraud, Inventory, Staff error, or Other.
- Return items to stock — on by default.
- Let Shopify email the customer — off by default.
- Tag — for example
Woo · Update order
What it does: changes the status of, or adds a note to, the WooCommerce order that started this automation. When to use it: on the Confirm and Cancel paths of a COD message.- WooCommerce store — leave on This automation’s store unless you need another.
- Change order status to — pick a status, or Leave status unchanged.
- Private order note (optional) — a note your team sees on the order. It isn’t sent to the customer.
Still unpaid? (added for you)
Abandoned-cart reminder flows include a Still unpaid? step before each reminder. It asks the store whether the order was already paid. Still unpaid continues to send the reminder; Already paid or closed skips it. You don’t add it yourself — see Abandoned Cart Recovery.Detect Country
What it does: works out the contact’s country from their phone number (or another field) and saves it. When to use it: showing prices in the right currency, or sending customers to the right team.- Phone Source — the contact’s phone number, or a custom field.
- Save Country Code To — for example
USorGB. - Optionally Also Save Country Name To — for example “United States”.
Send Event Invite
What it does: sends a registration button with an automatically built link to one of your events. When to use it: inviting contacts to a webinar, workshop, or meetup.- Event — choose a published event from Event Studio.
- Message body and Button label.
- Closed message — what customers see if registration is closed.
Send Event QR
What it does: finds a contact’s ticket by phone or email and re-sends its QR code. When to use it: “I lost my ticket” — let customers get it again without contacting you.- Event and Lookup field — Phone or Email, taken from the conversation.
- Not found message — for example “No ticket found for this phone/email.”
Troubleshooting / Technical Notes
- HTTP API returns nothing useful. Check the URL and headers, and look at the Response Preview. Then check the JSON Path you mapped.
- “No Google account connected.” Connect Google first — see Google.
- Google Sheets says no columns found. Row 1 needs headers. Then click Refresh Columns from Sheet.
- Find order says “Not found” for a real order. With Only show the contact’s own orders on, the order’s phone number or email must match the contact. Check the order number and that the contact’s details match the order.
- Update order fails. For Shopify, the store may need to be reconnected to allow order changes; for WooCommerce, the key needs Read/Write permission.
- Send Event Invite says registration is closed. The event isn’t published or has closed — check it in Event Studio.