

What is this?
Payment Gateway is where you connect the payment providers your platform uses to charge customers for subscription plans, add-ons, and wallet recharges. Each provider is configured once here, and every payment it processes is then tracked in Platform Transactions and Platform Subscriptions.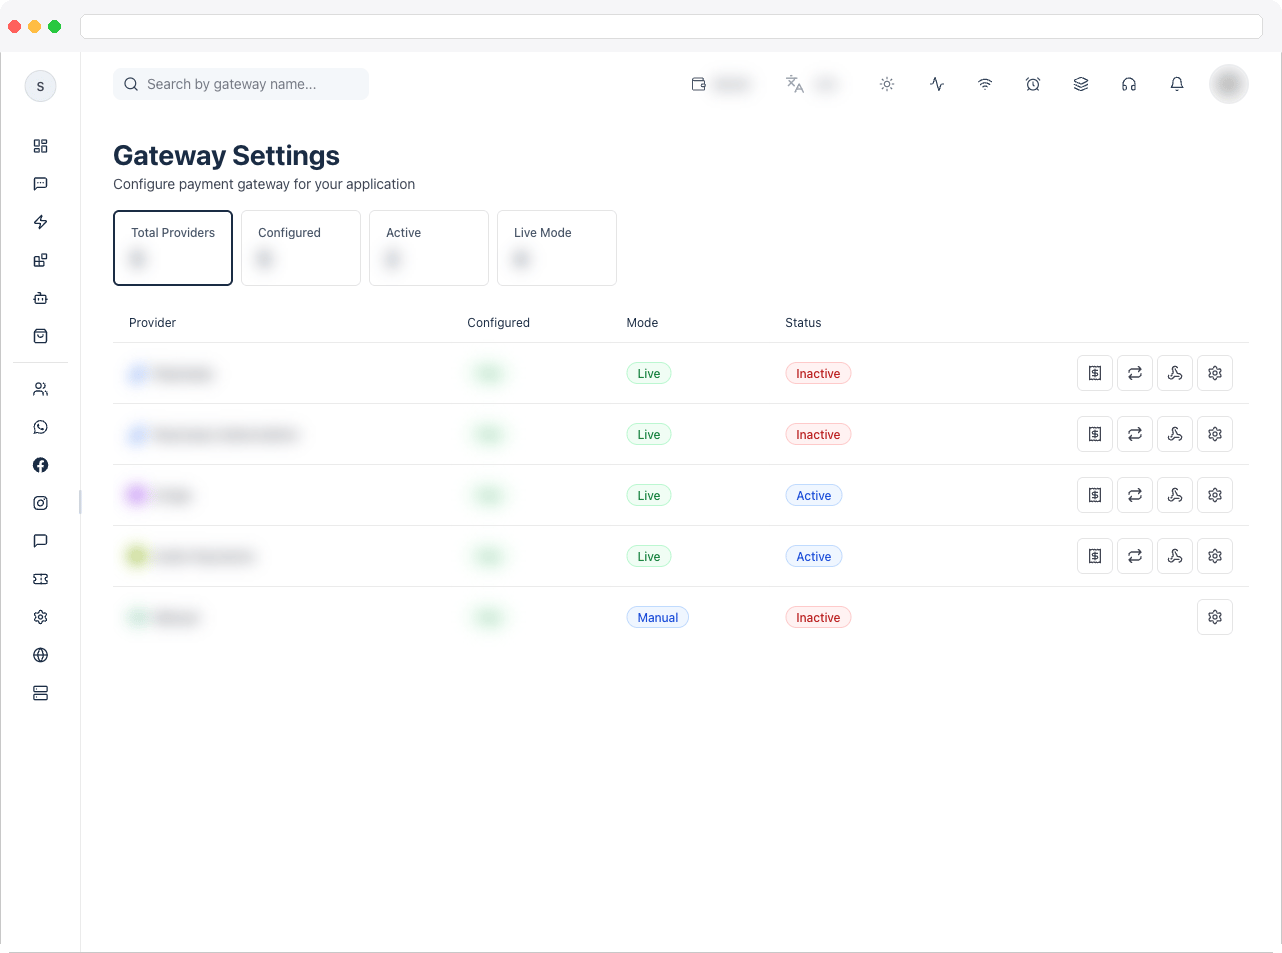
This page requires the
platform:edit permission. It is only visible to platform-level administrators.What can I do here?
- See the Gateway Library with summary tiles for Total Providers, Configured, Active, and Live providers
- Search providers by name
- Review each provider’s Configured state, Mode (Test, Live, or Manual), and Status (Active or Inactive) in the table
- Configure a provider: Razorpay, Razorpay Subscription, Stripe, Whop, Dodo Payments, or Manual payment
- Run more than one provider at the same time — for example, different providers for different customer regions
- Switch a provider between Test Mode and Live Mode
- Copy the webhook URL for a provider so it can send payment updates back to the platform
- Run Sync transactions, Sync subscriptions, or Sync webhooks to reconcile a provider’s data with the platform
How to use it
Configure a payment provider
- Go to Platform → Payment Gateway.
- Find the provider in the Gateway Library and click the Update icon at the end of its row.
- Under Environment Mode, choose Test Mode to try payments safely, or Live Mode to process real payments.
-
Enter the credentials for the mode you selected. Depending on the provider, this includes an API Key, API Secret, and — for Stripe, Whop, and Dodo Payments — a Webhook Signing Secret.

- Copy the Webhook URL shown for that provider and paste it into the provider’s own dashboard, so payment updates reach your platform.
- Turn on Enable Payment Gateway to activate payment processing.
- Click Save Settings (or Update Settings for an existing provider).
Provider-specific options
- Stripe
- Whop
- Dodo Payments
- Manual
Add your Stripe API credentials and webhook signing secret. You can also turn on Use Stripe Tax for Checkout to let Stripe calculate tax at checkout.
Keep provider data in sync
Use the icon buttons in a provider’s row when payment data looks out of date:Troubleshooting / Technical Notes
- Save fails with a credentials message. Each provider needs a complete set of credentials for at least one mode. For example, Stripe needs API credentials and a webhook signing secret in live or test mode.
- Payments complete but statuses don’t update. The webhook URL is probably missing or wrong in the provider’s dashboard. Re-copy it from the modal and use Sync webhooks to catch up.
- Customers can’t see a provider at checkout. Make sure the provider is enabled (Enable Payment Gateway) and its mode matches the credentials you entered.
- Plan prices don’t map to the provider. After activating a provider, use Sync Provider Library on the Platform Plans page.