

Included with every self-managed instance. This tab is part of Whitelabel Setup.
What is this?
The Cloudflare for SaaS tab configures the shared domain infrastructure used for storefront custom domains. It connects your instance to a Cloudflare zone so that your customers can point their own domains at their Storefront and have Cloudflare automatically issue SSL certificates and route traffic for them.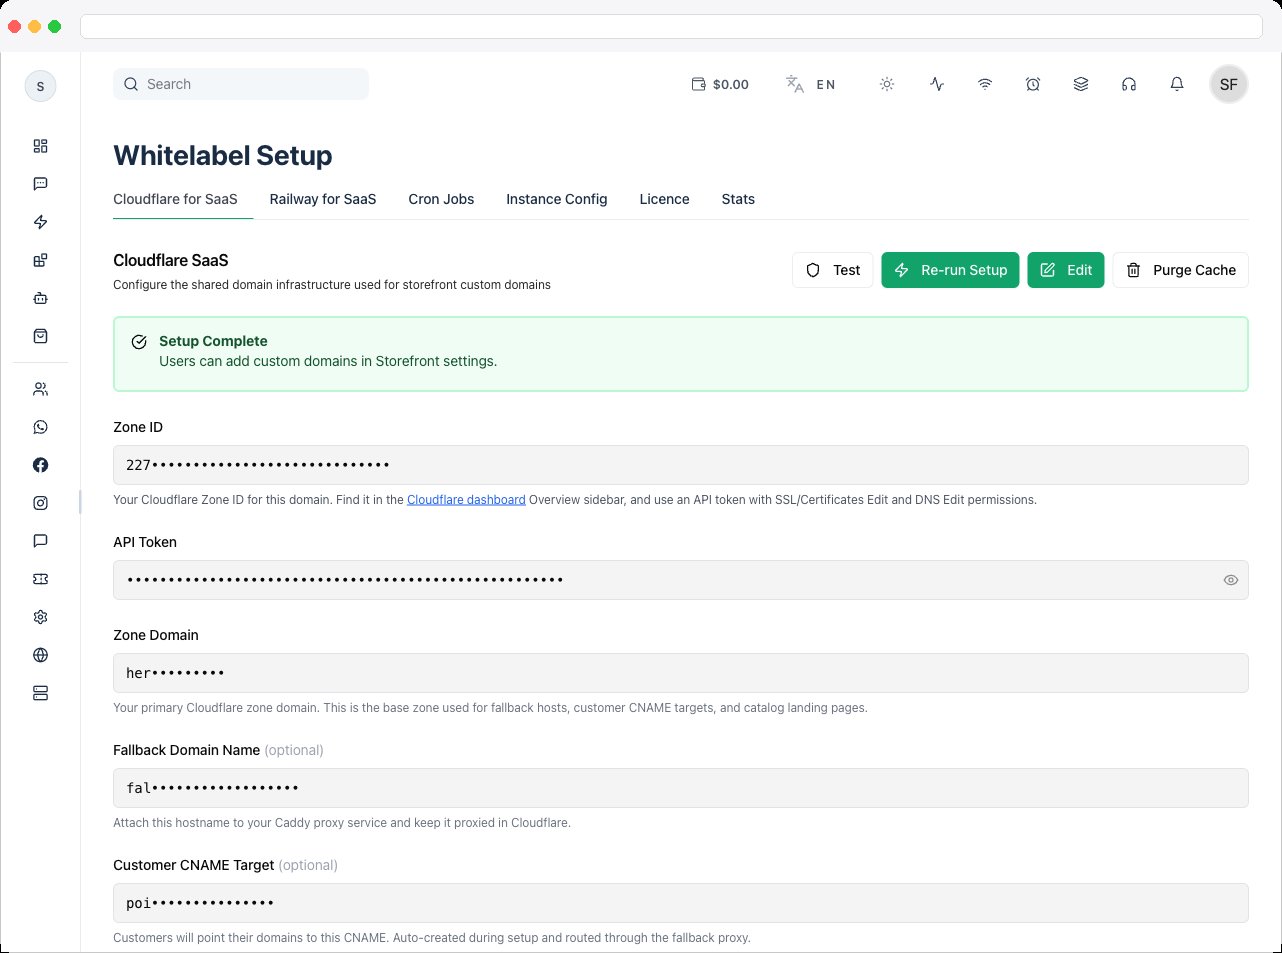
What can I do here?
- Enter your Cloudflare Zone ID and API Token (an API token with SSL/Certificates Edit and DNS Edit permissions).
- Set the Zone Domain — your primary Cloudflare zone domain, used as the base for fallback hosts, customer CNAME targets, and catalog landing pages.
- Optionally set a custom Fallback Domain Name and Customer CNAME Target (both default to values based on your zone name if left blank).
- Manually enter a DCV Delegation Target if Cloudflare’s automatic DCV detection fails during setup.
- Toggle custom domains on/off with the enabled switch (“Custom domains enabled” / “Custom domains disabled”).
- Click Test to verify your Zone ID/API Token connection against Cloudflare.
- Click Auto-Setup (or Re-run Setup once setup has already run) to have the system configure the fallback origin, DCV, and DNS records automatically, with a step-by-step status list.
- Click Purge Cache to purge the Cloudflare cache for the zone.
- Click Edit to unlock the fields for editing, then Save to persist changes (or Cancel to discard).
How to use it
-
Click Edit to unlock the form.
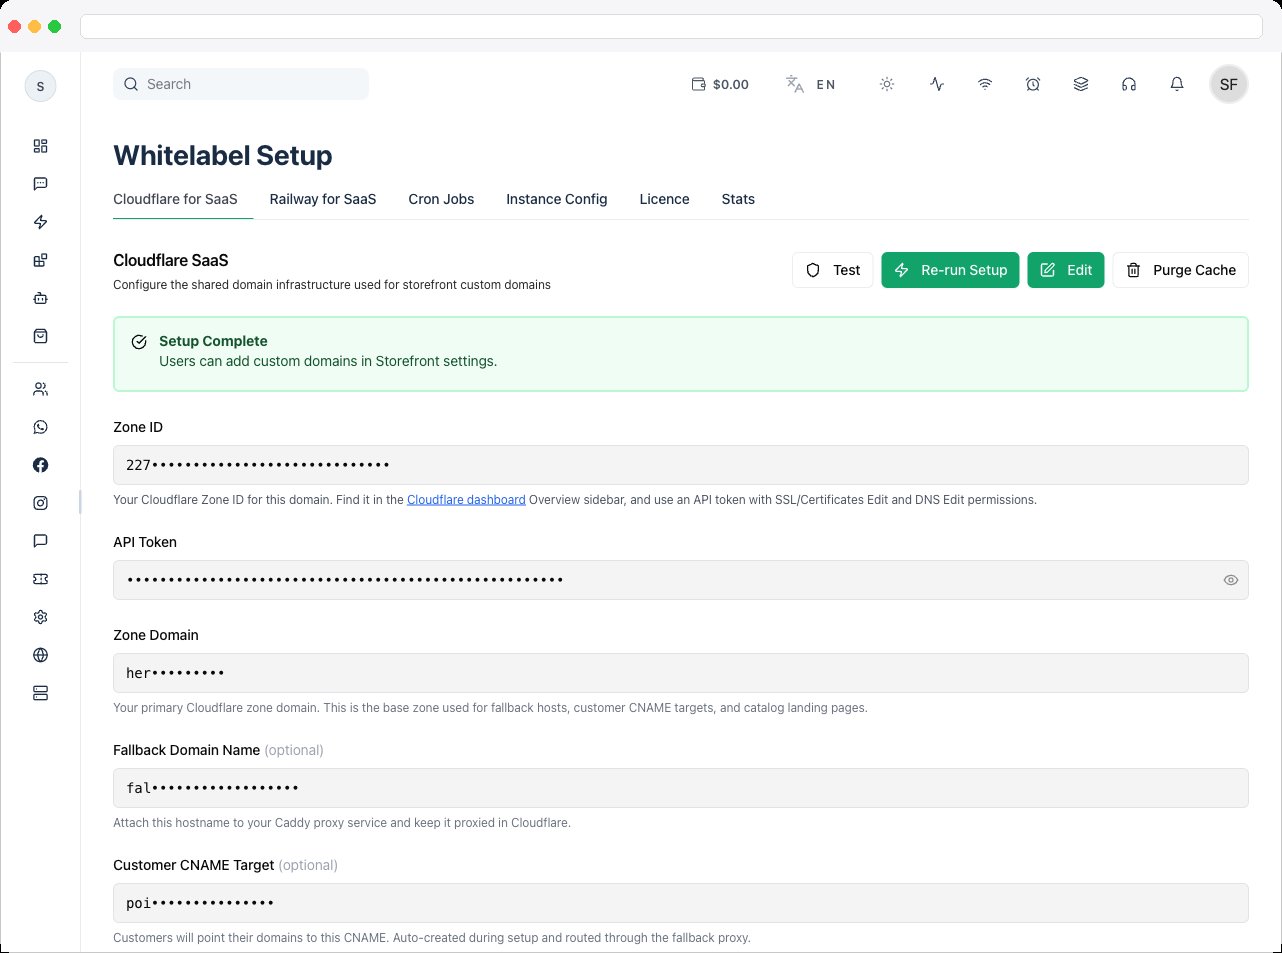
- Enter your Zone ID and API Token from the Cloudflare dashboard Overview sidebar. The API token needs SSL/Certificates Edit and DNS Edit permissions.
-
Enter the Zone Domain — your primary Cloudflare zone domain (e.g.
example.in). -
Optionally set a Fallback Domain Name and Customer CNAME Target if you don’t want to use the auto-generated defaults (
fallback.{zoneName}andstore.{zoneName}). -
Click Save. If you set a Fallback Domain Name or Customer CNAME Target, auto-setup runs automatically after saving.
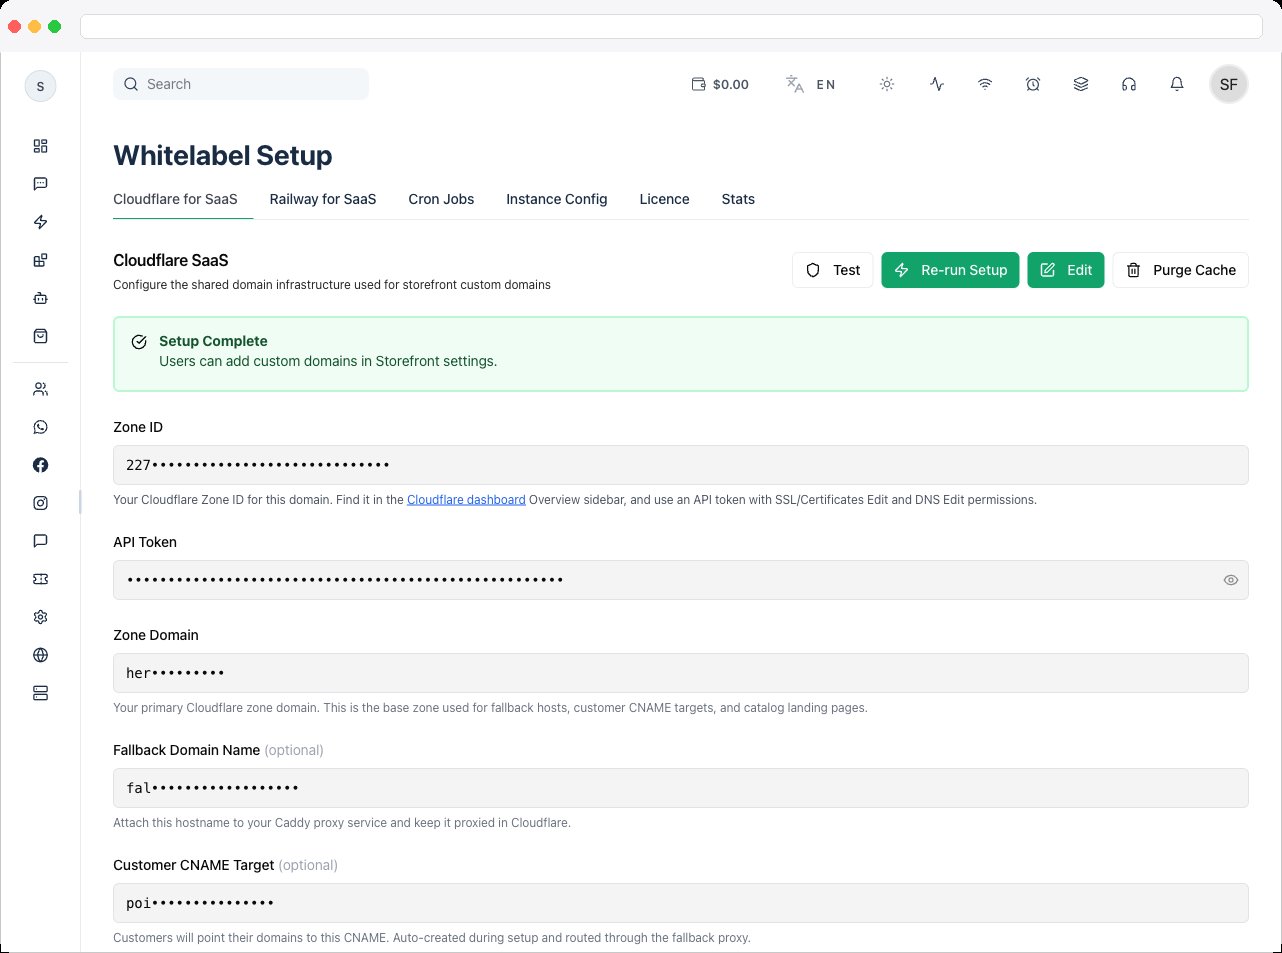
- If a step shows as needing manual input (for example DCV delegation auto-detect failed), a DCV Delegation Target field appears — find the value in Cloudflare under SSL/TLS → Custom Hostnames → DCV Delegation, paste it in, and click Save DCV.
- Once setup completes, review the Auto-configured section for the resulting Fallback origin, CNAME Target, and DCV values.
- Turn on the enabled switch so users can add custom domains in their Storefront settings.
- Use Test at any time to re-verify the Zone ID/API Token still connect successfully, and Purge Cache if you need to clear cached content for the zone after a change.
How it works for users (end-customer flow)
This section explains what your own end customers experience once Cloudflare for SaaS is configured — shown directly on the page as reference:- You need a separate reverse-proxy server for custom domains, either with Nginx or by running the app in
APP_MODE=proxyon a VPS server. - The customer enters their domain in Catalog Settings → Storefront and clicks Verify.
- The system shows the CNAME record the customer must add at their domain registrar.
- Cloudflare validates the hostname, SSL is auto-issued, and the domain goes live through the proxy.