

What is this?
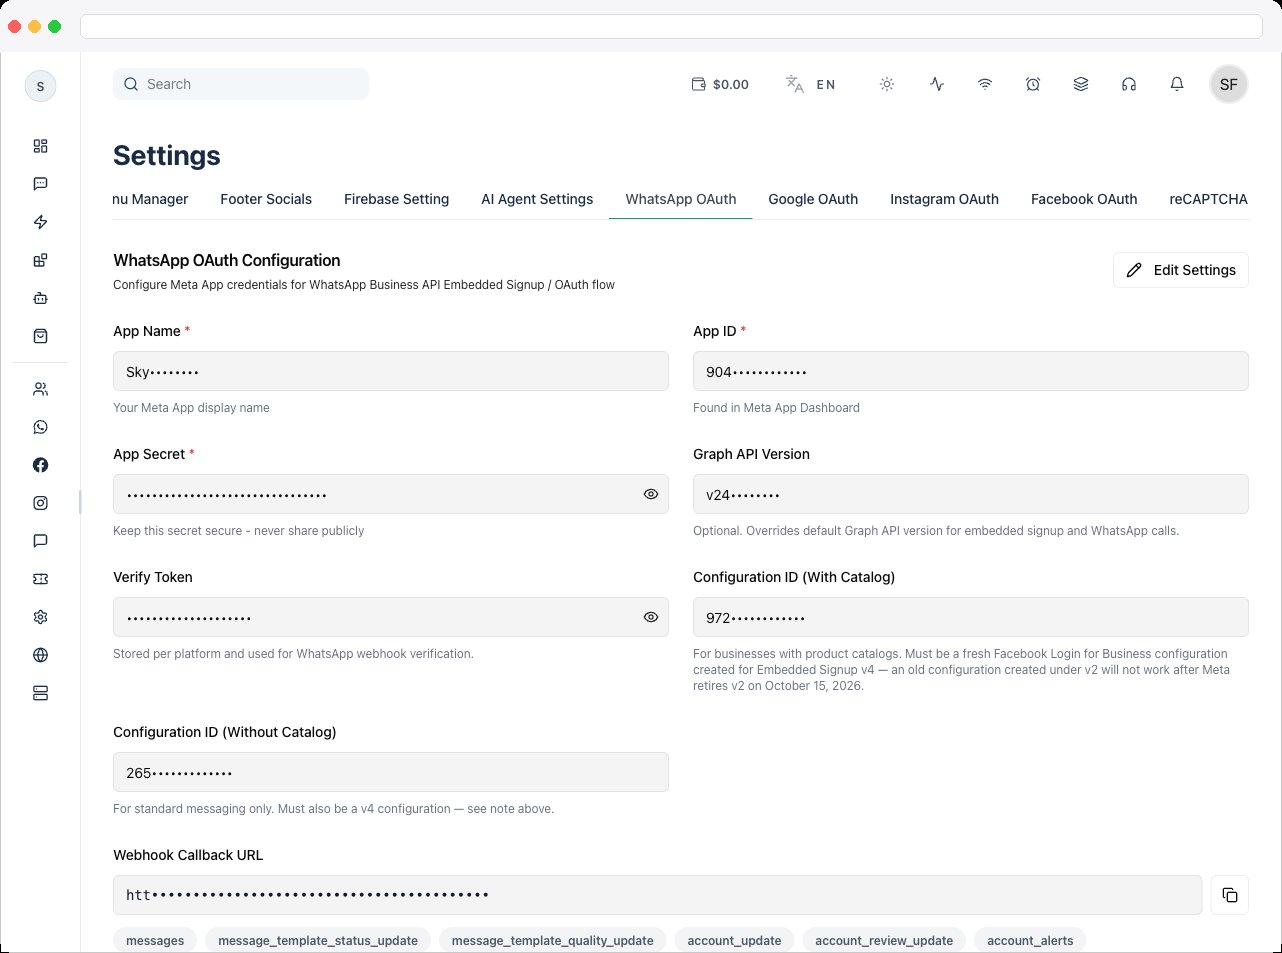
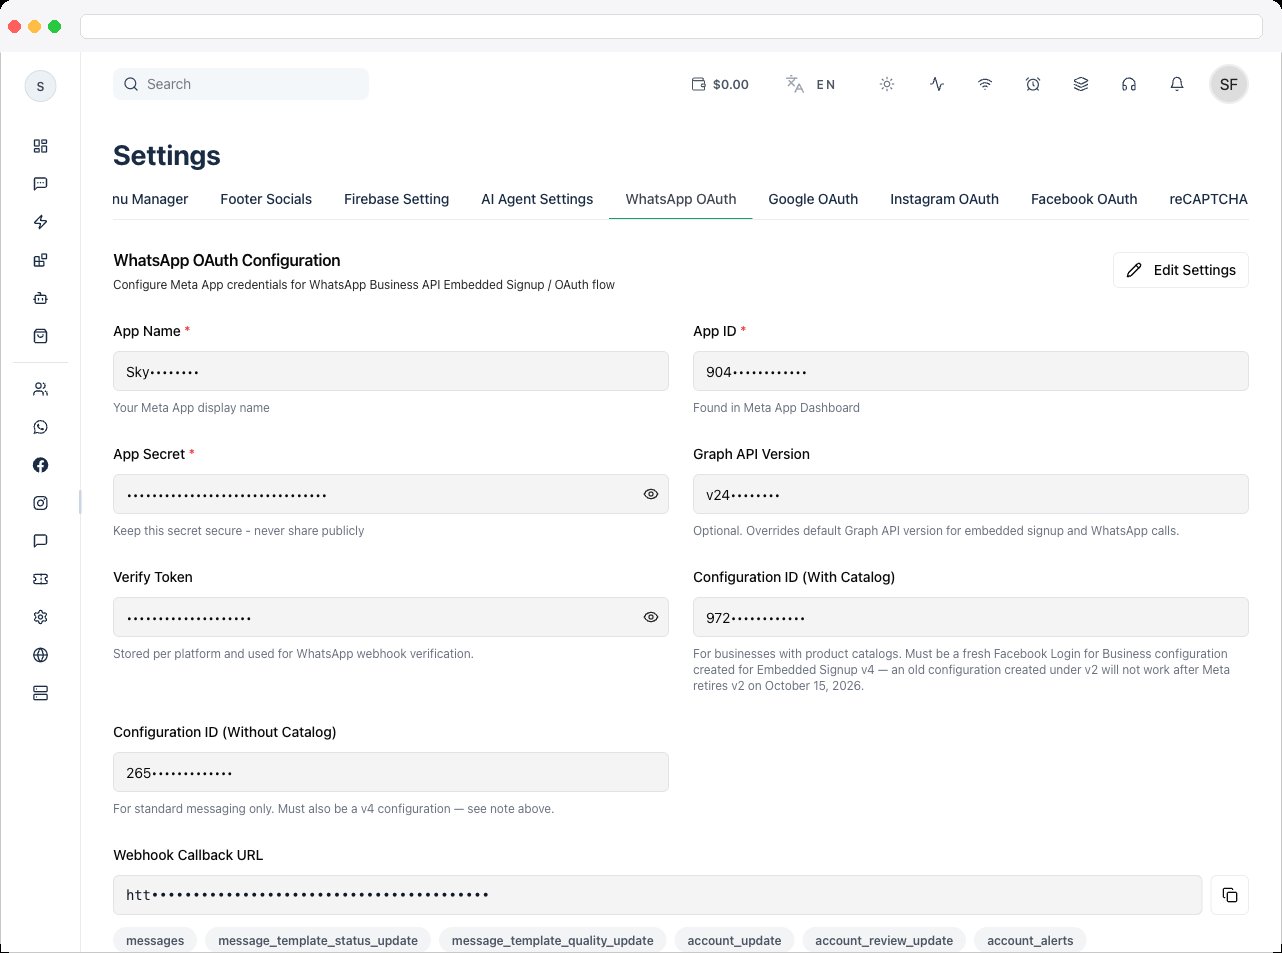
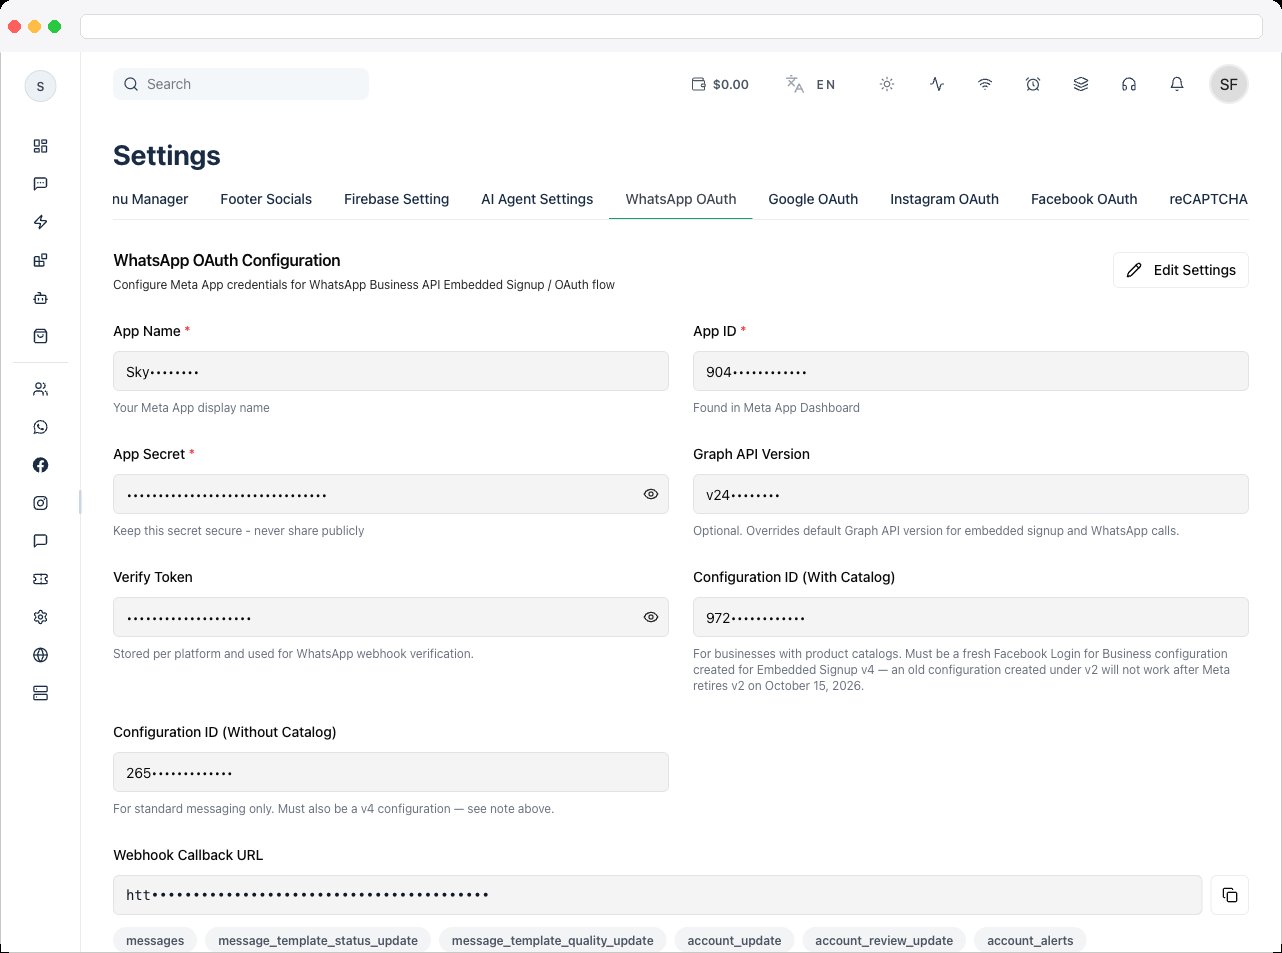
The WhatsApp OAuth tab configures Meta Embedded Signup — a Meta-provided onboarding flow that lets users connect their WhatsApp Business account, grant the required permissions, and finish onboarding without leaving your platform. Embedded Signup reduces onboarding friction, automates the WhatsApp Business API connection, removes manual Meta setup steps, and improves conversion for new users. It requires a properly configured and approved Meta app. This tab also holds the Twilio TURN settings needed for WhatsApp Calling.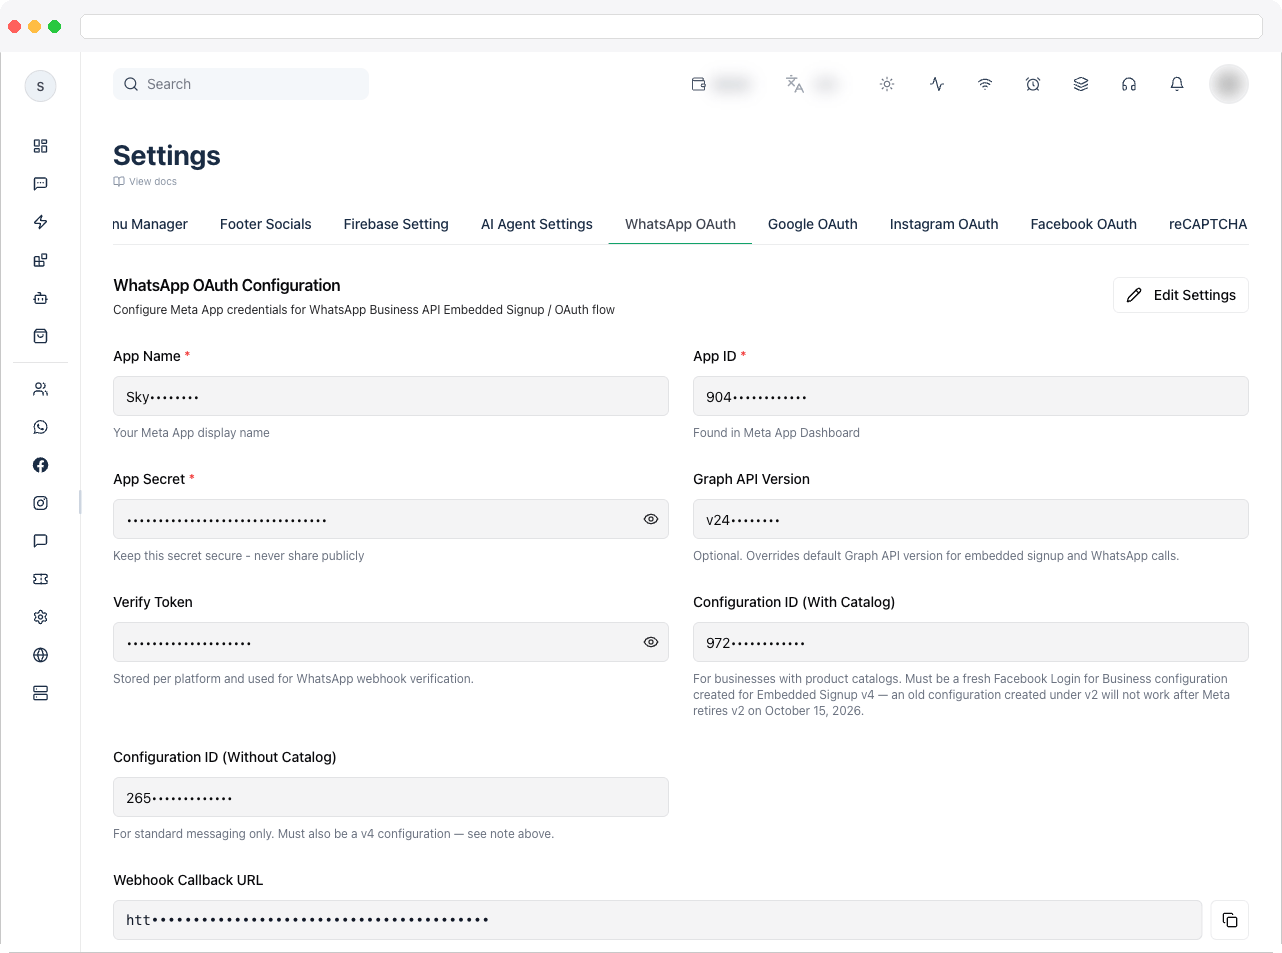
What can I do here?
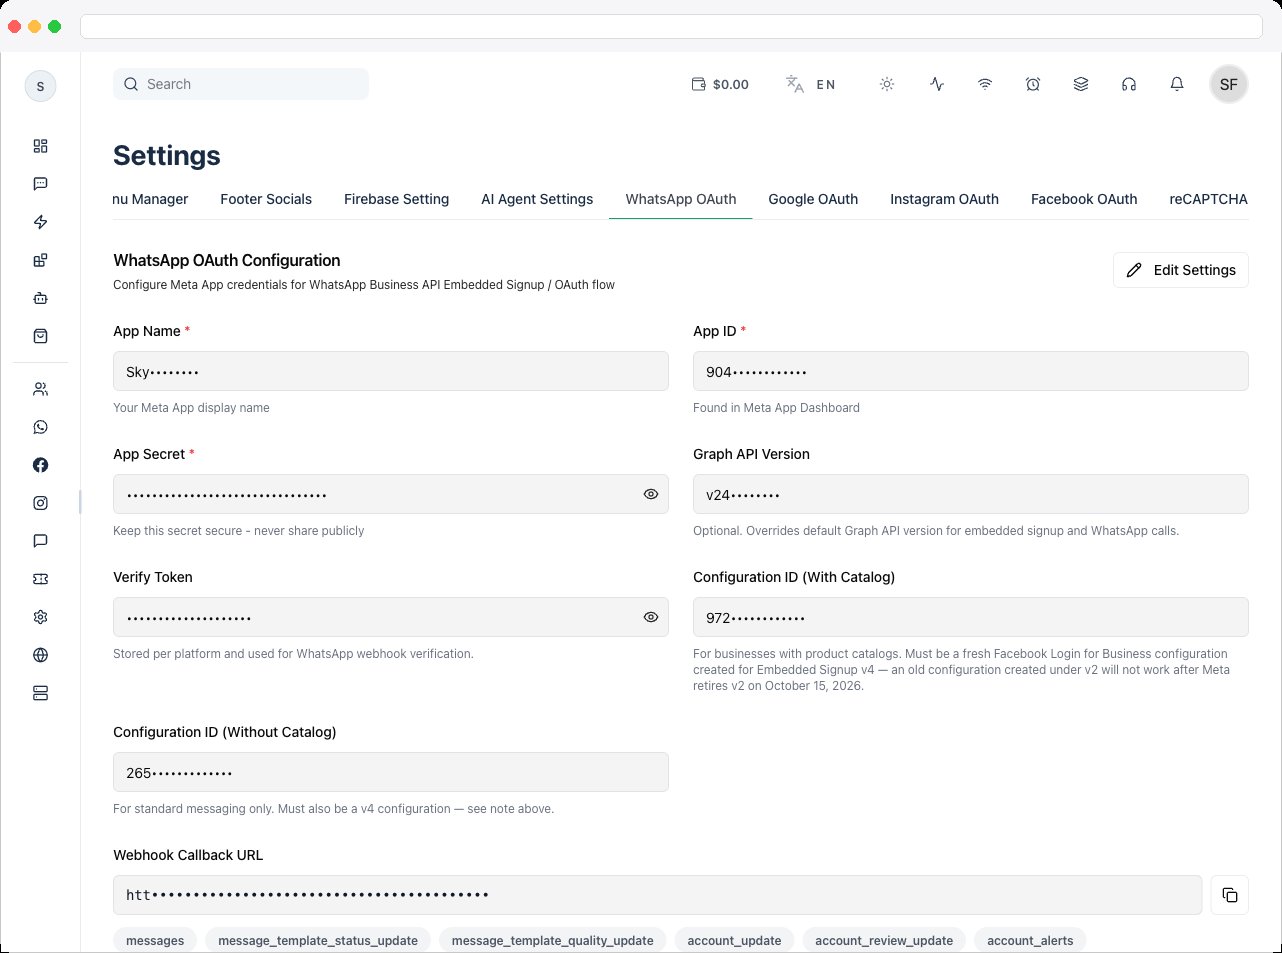
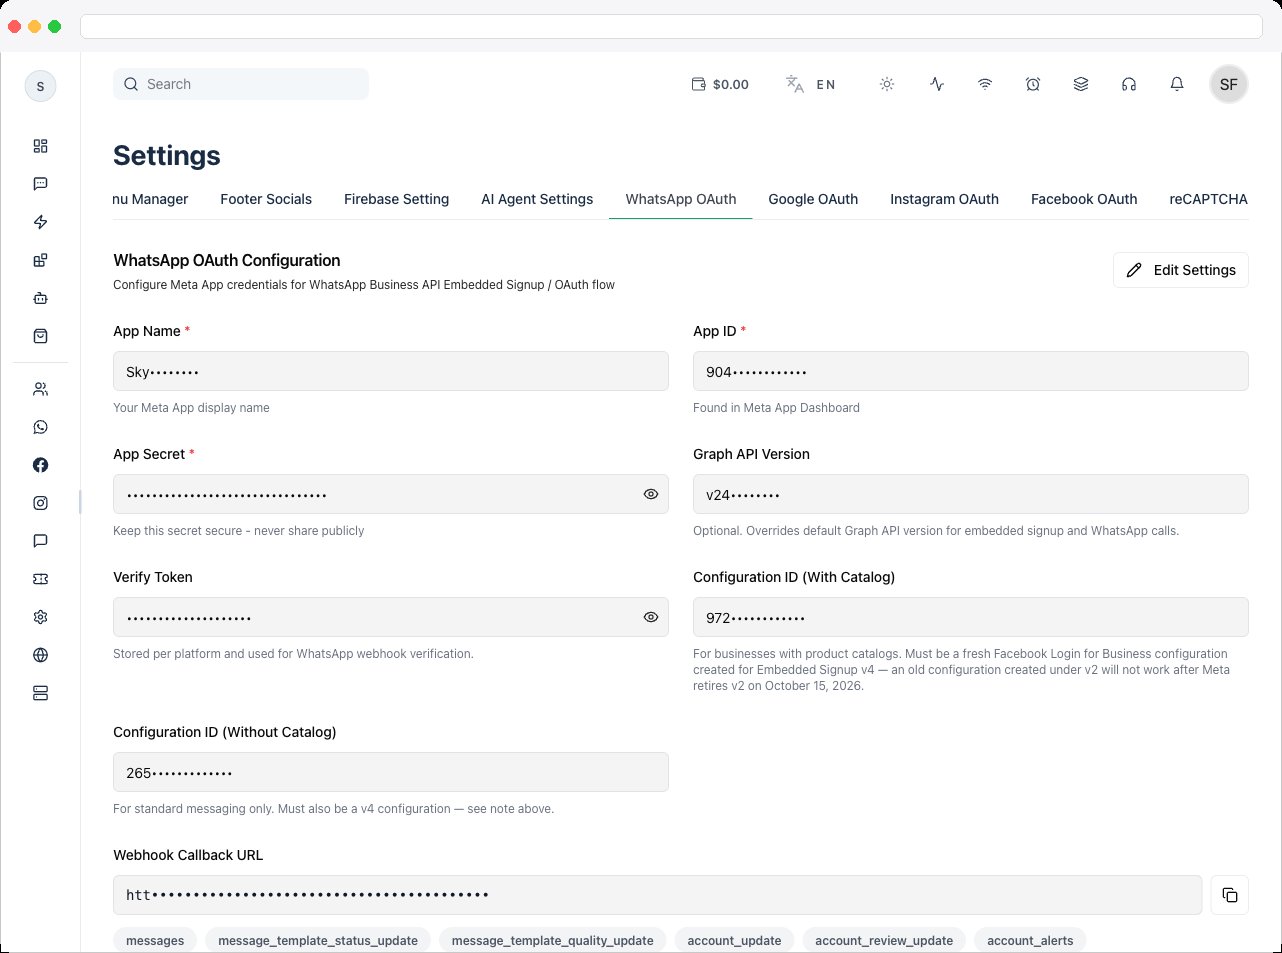
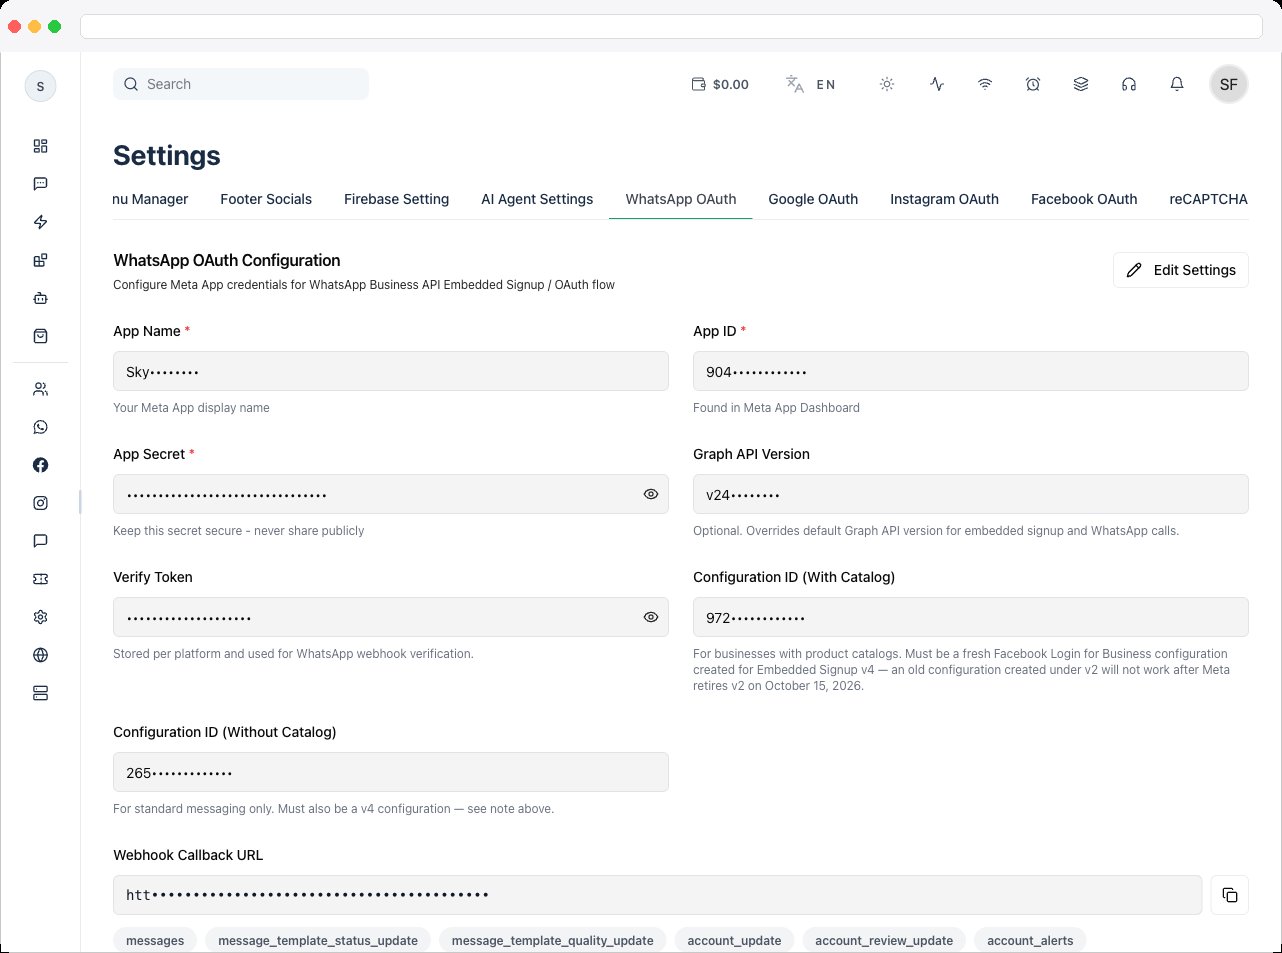
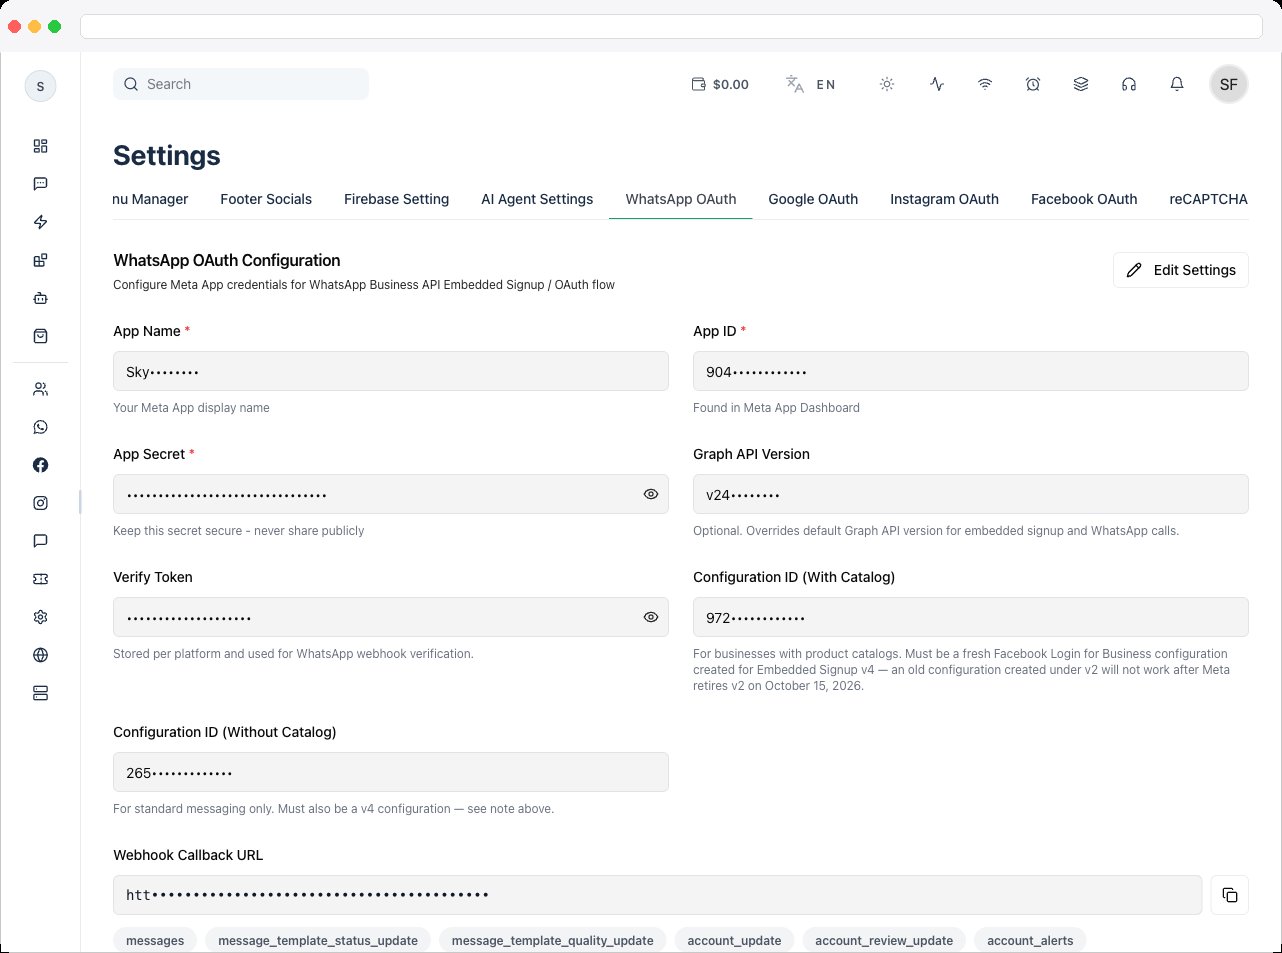
- Save your Meta App Name, App ID, and App Secret (all three are required)
- Set an optional Graph API Version override
- Set the Verify Token used for WhatsApp webhook verification
- Enter the Configuration ID (With Catalog) and Configuration ID (Without Catalog)
- Copy the Webhook Callback URL for your Meta app
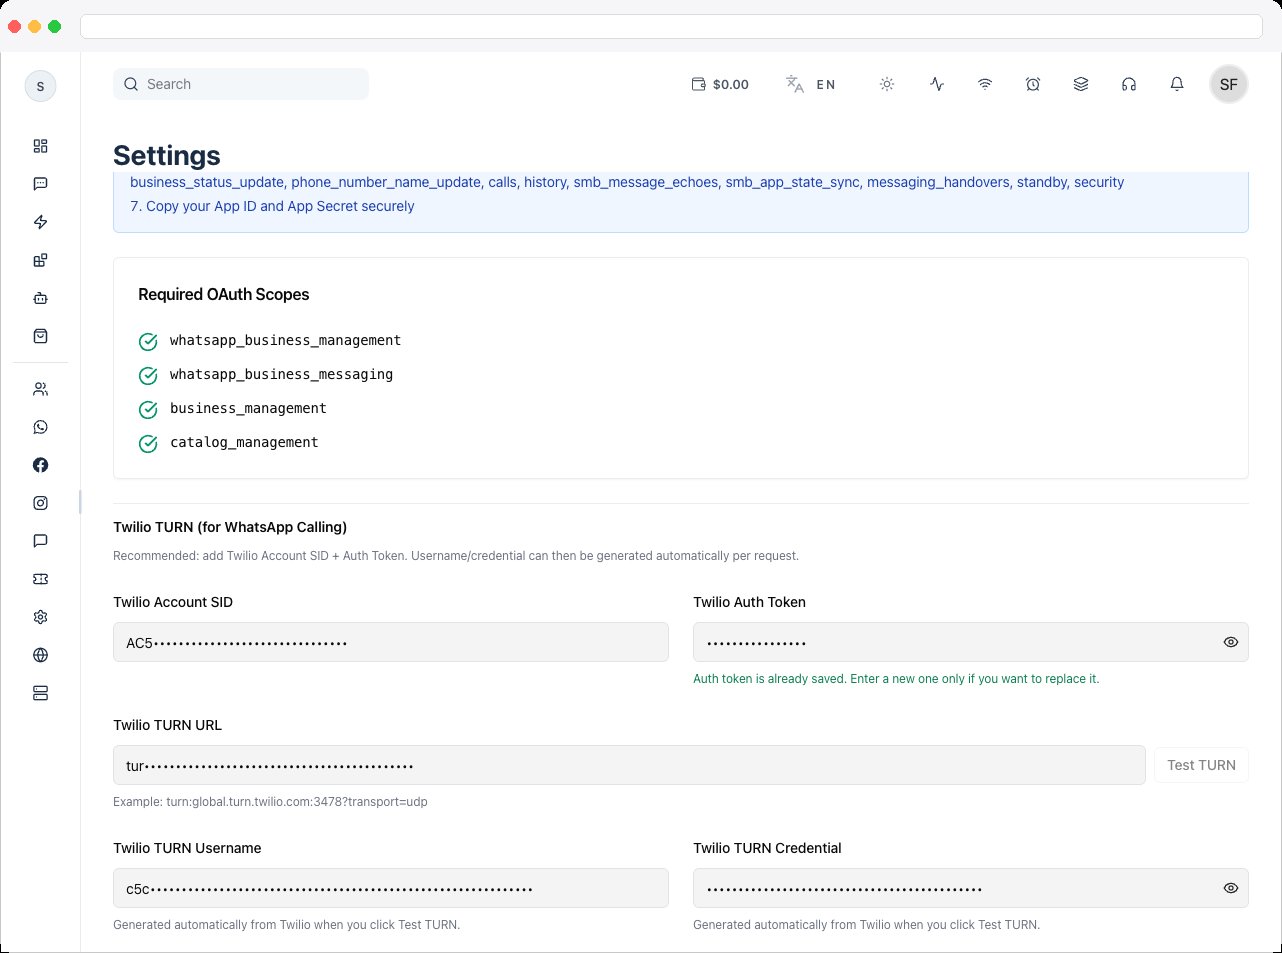
- Review the Required OAuth Scopes
- Add Twilio TURN credentials and run Test TURN for WhatsApp Calling
How to use it
Before you start
You will need to:- create a Meta app in the Meta Developer Console
- enable the WhatsApp Business Platform API
- collect the App ID and App Secret
- create configuration IDs (with and without catalog)
- set up webhook verification
Required OAuth scopes
Use the with catalog configuration ID when
catalog_management is included, and the without catalog ID when it is not.
Configure WhatsApp OAuth in Meta
1
Create a Meta app
-
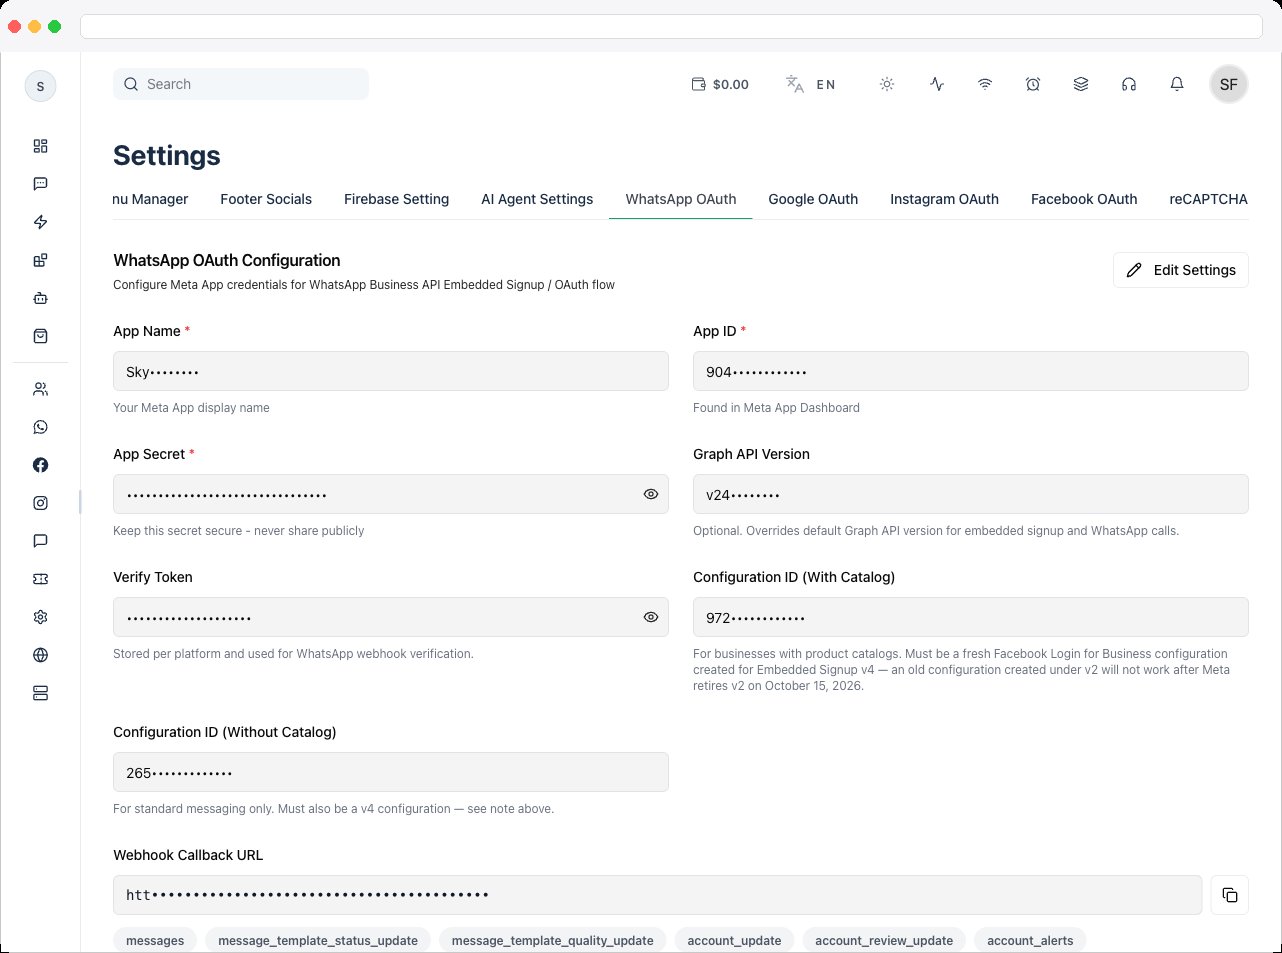
Go to developers.facebook.com and click My Apps → Create App.
-
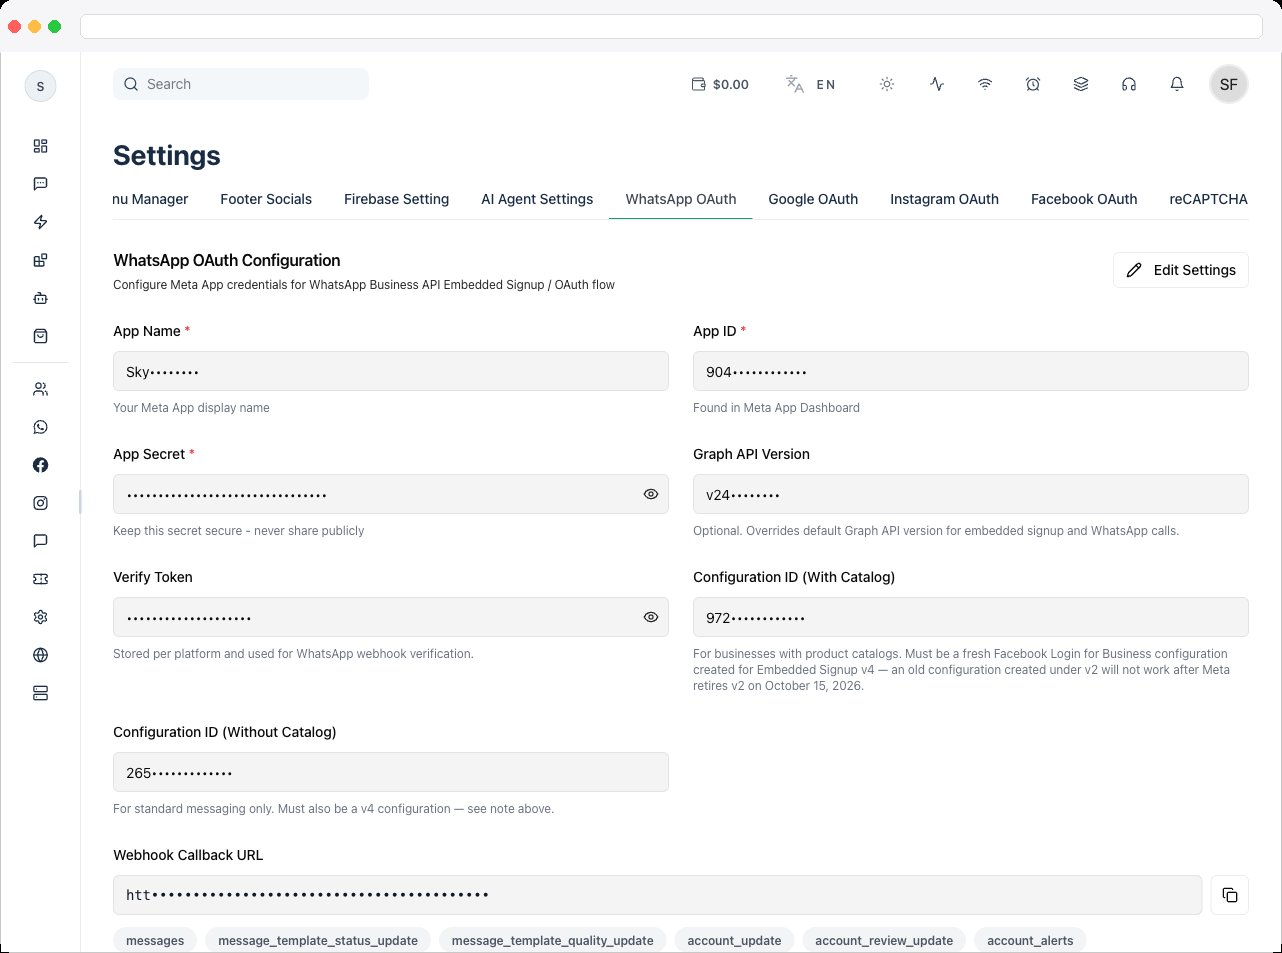
Enter an App Name and Contact Email.
-
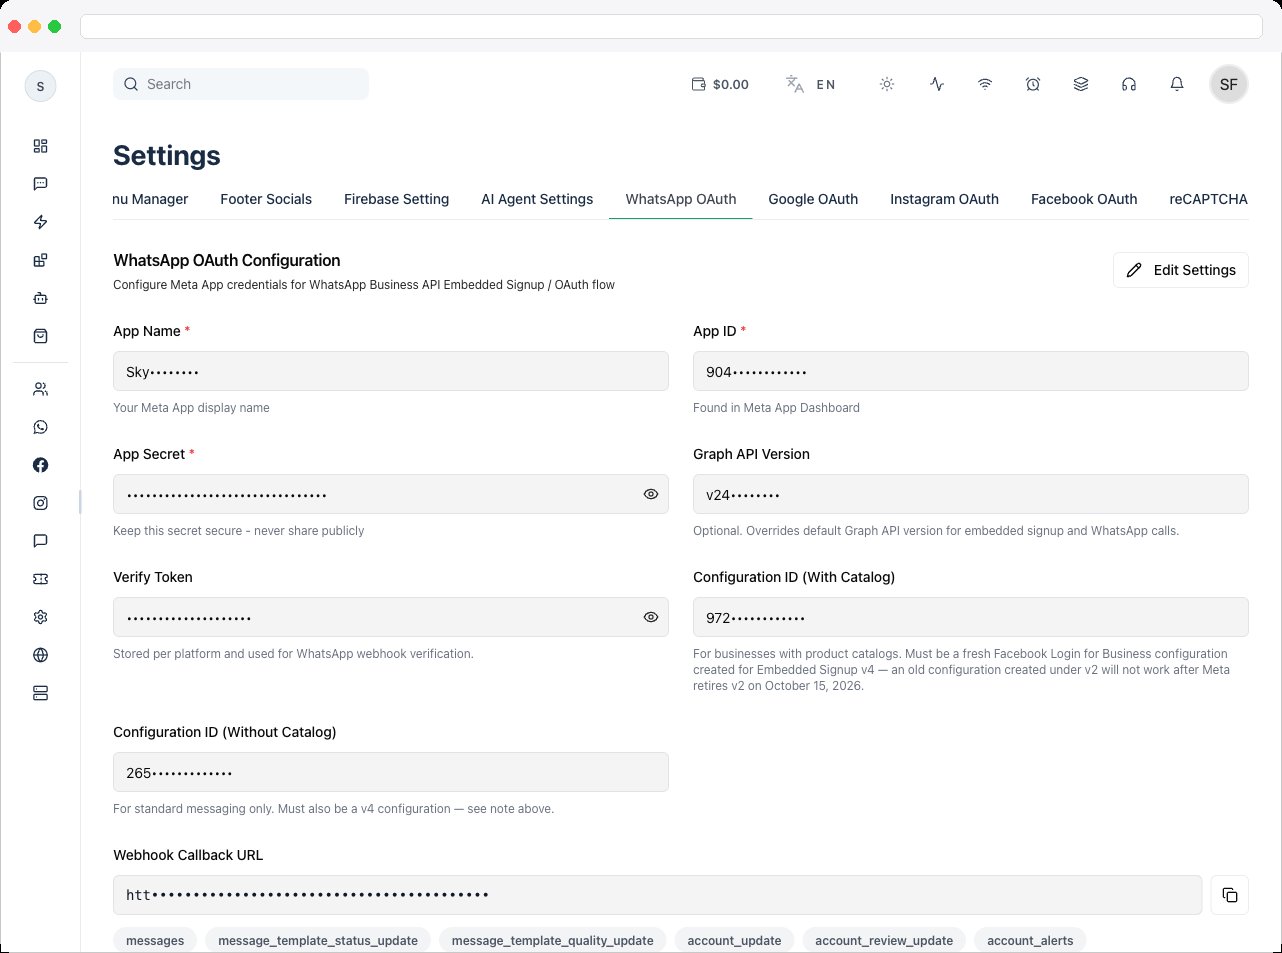
Select the use case Connect with customers through WhatsApp.
-
Select your verified Business Manager.
2
Add your products
On your app dashboard, scroll down and click Add Product. Add WhatsApp, Facebook Login for Business, Instagram, and Messenger, and complete the basic setup.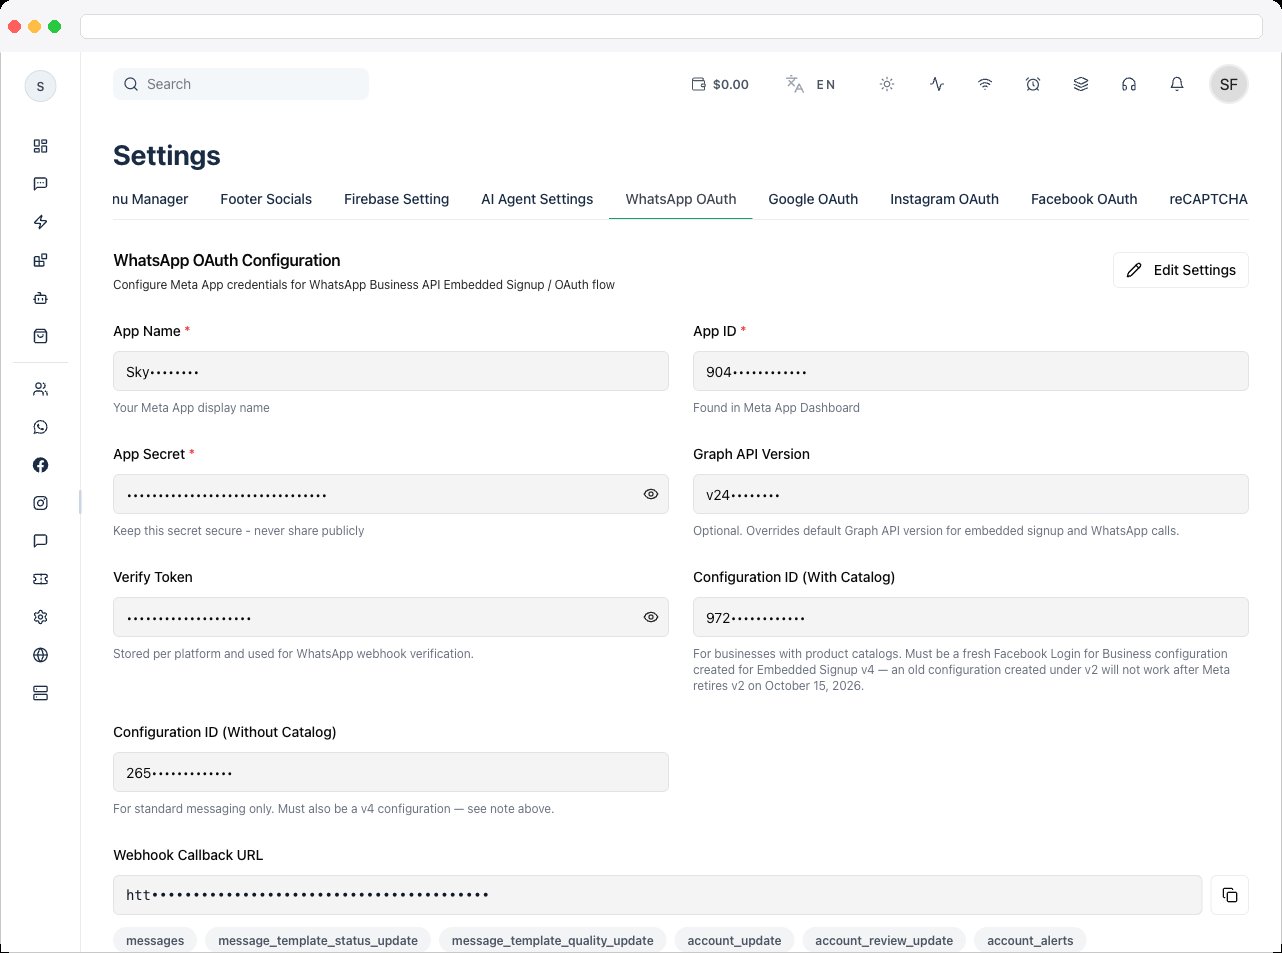
3
Configure app basics
Go to App Settings → Basic and add the app name and logo, a Privacy Policy URL, a Terms of Service URL, and the App Domain (your platform domain). Then go to Business Settings → Security Center.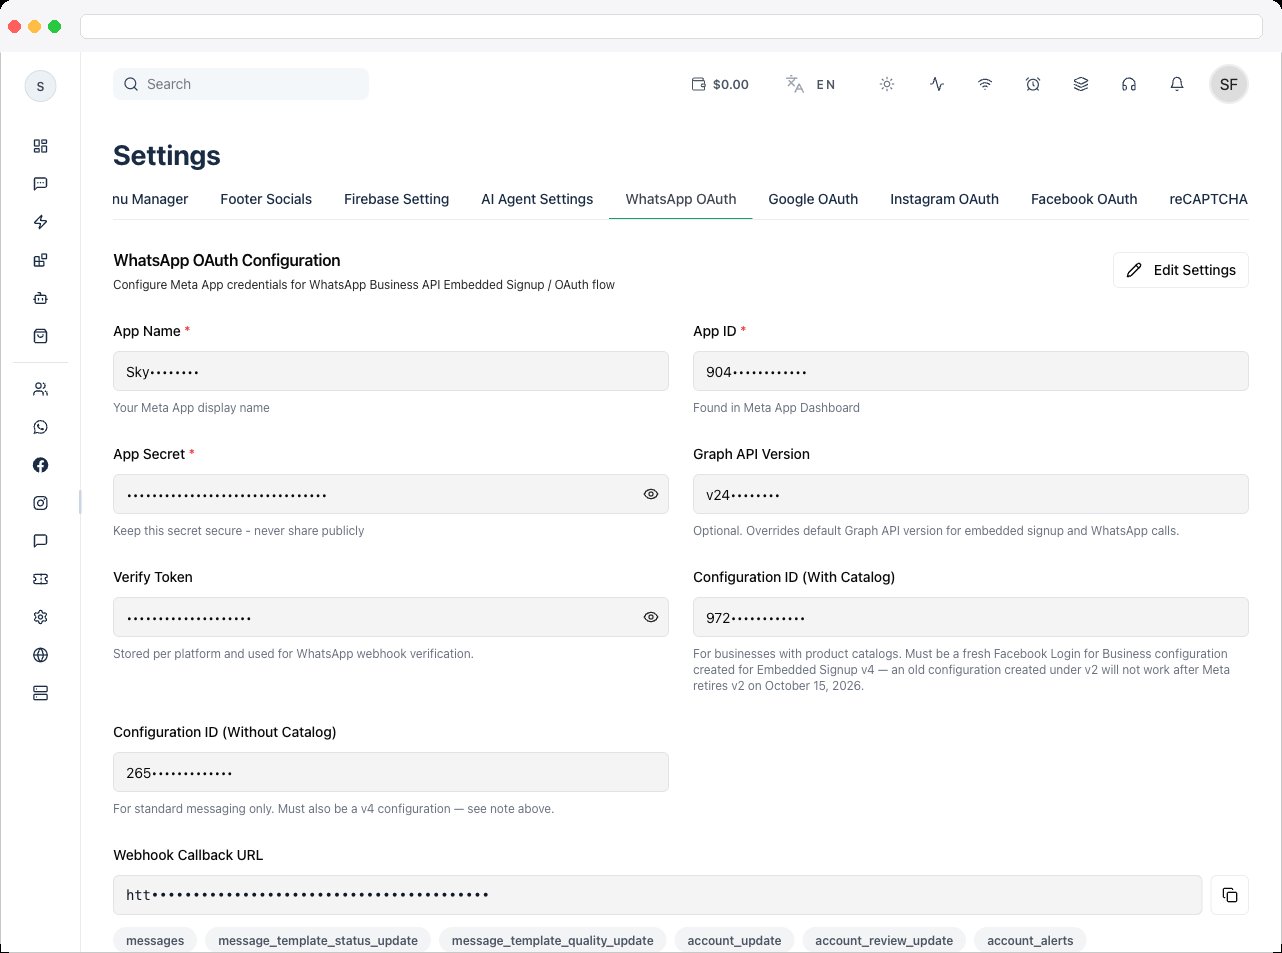
4
Create the Embedded Signup configurations
-
Go to Facebook Login for Business → Configuration and click Create configuration.
-
Create and save both configuration IDs, selecting scopes from the Required OAuth Scopes table: one with catalog and one without catalog.
5
Save the values in the platform
In Platform Settings → WhatsApp OAuth, click Edit Settings and enter the App Name, App ID, App Secret, Verify Token, and both Configuration IDs. Click Save Settings.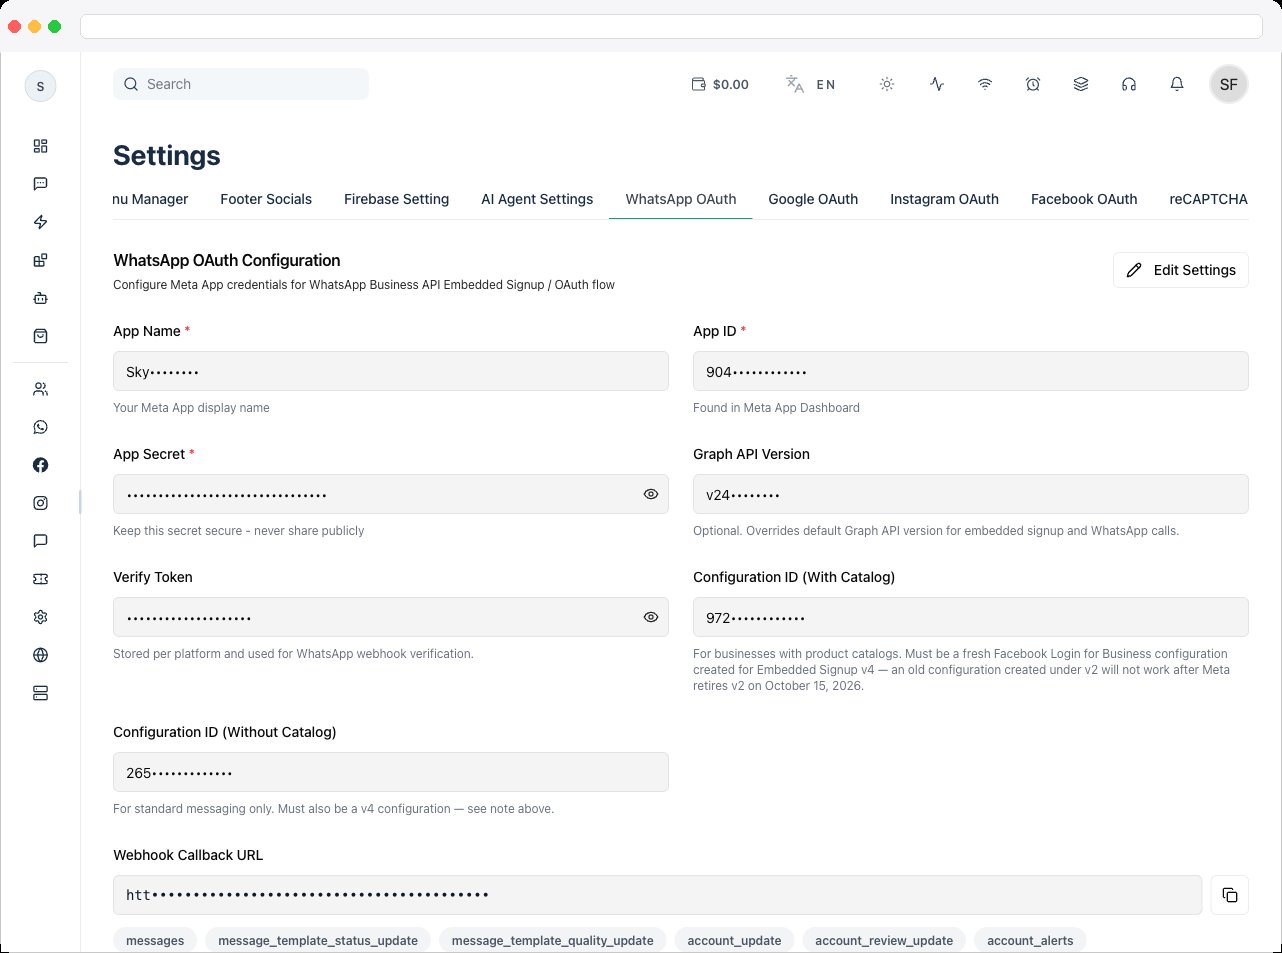
6
Add the webhook
In Meta, go to WhatsApp → Configuration and add the Webhook Callback URL from this tab, using the same Verify Token. Select the required events so incoming WhatsApp messages are delivered.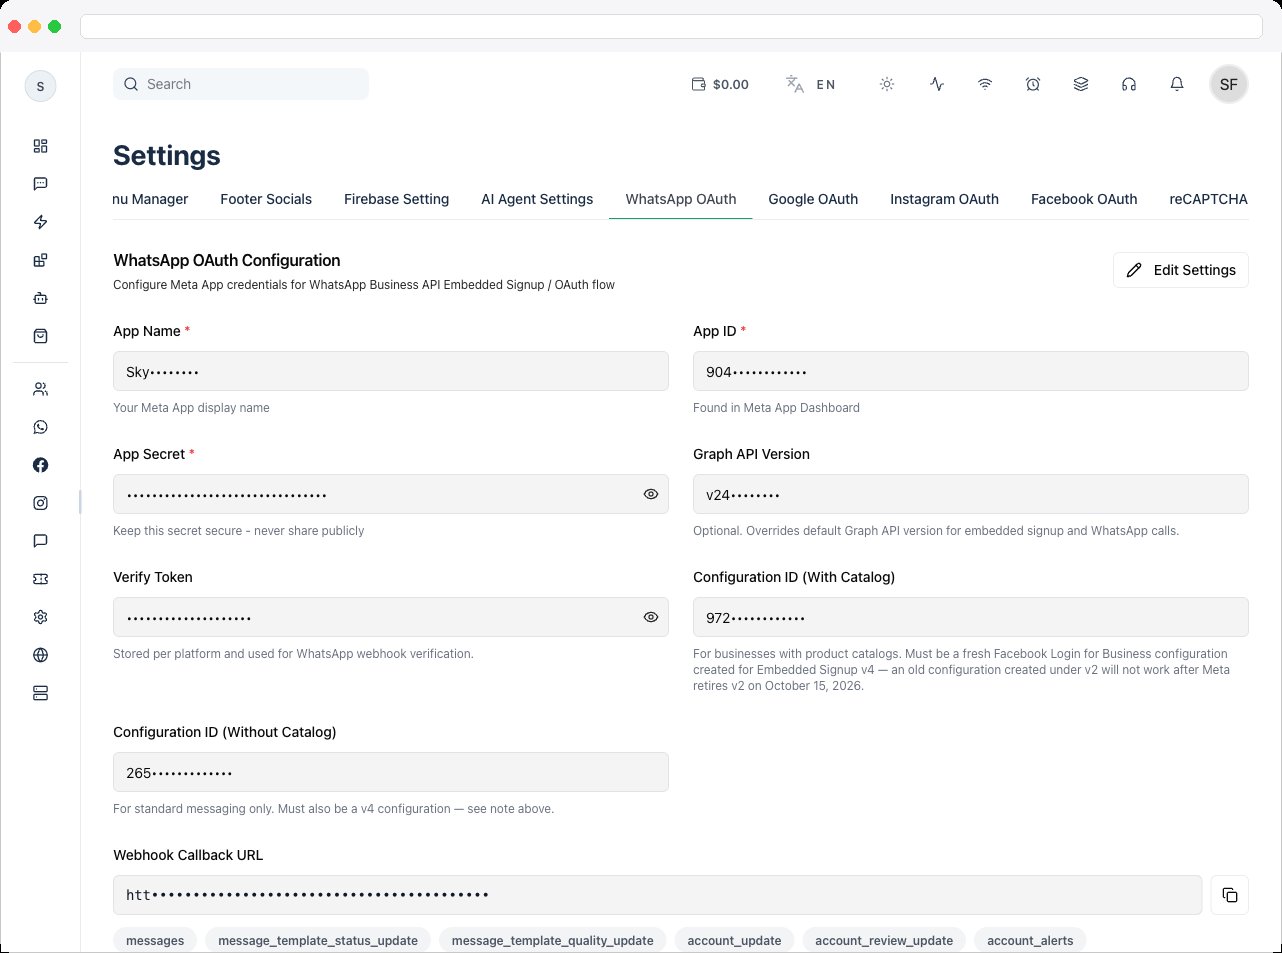
7
Request advanced access
Go to App Review → Permissions and Features and request Advanced access for the scopes in the Required OAuth Scopes table.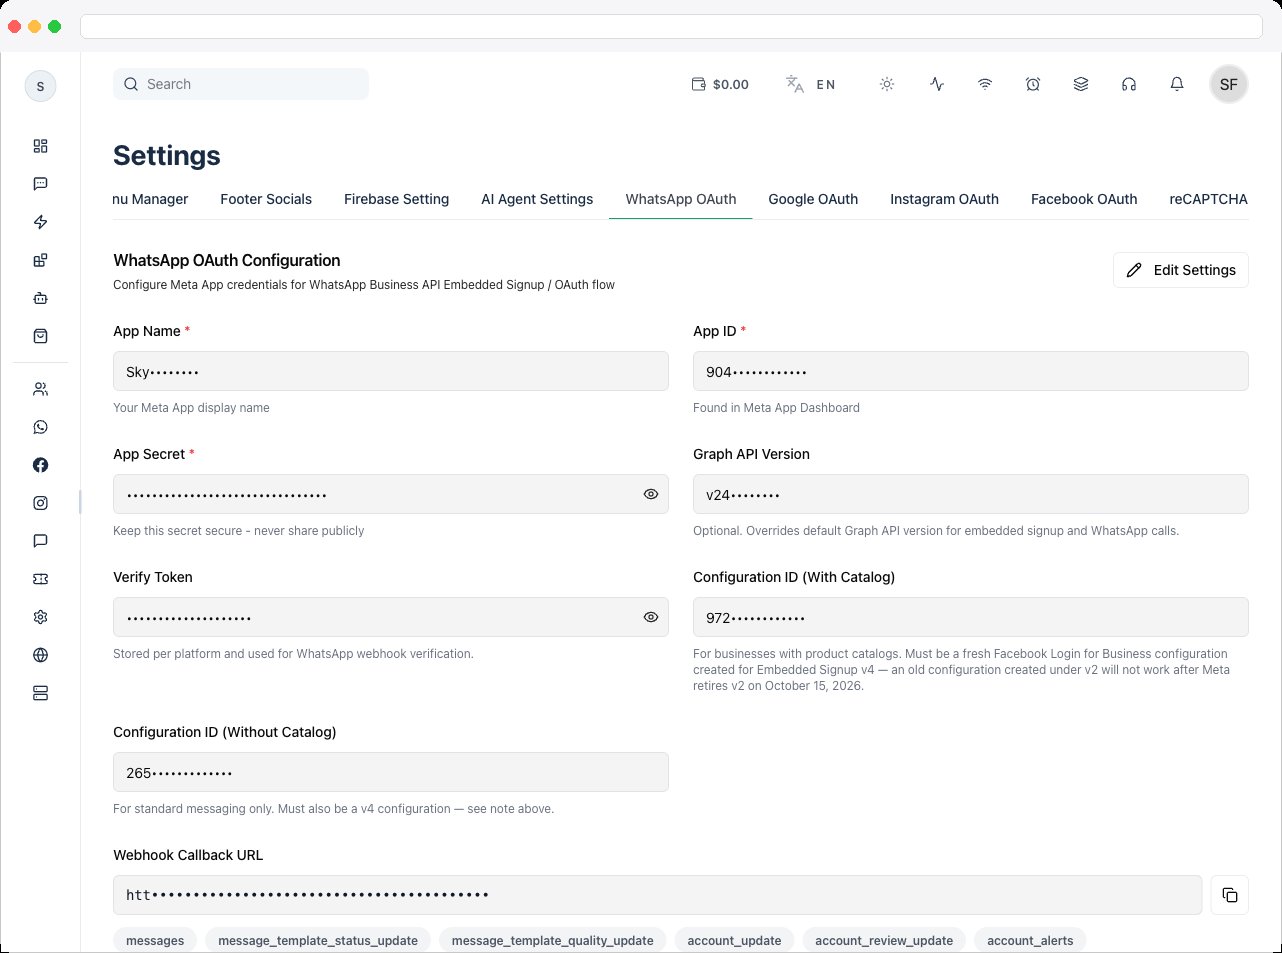
8
Complete the App Review sections
Go to App Review → Settings and complete every section — Branding, Audience, Clients, Data Access, and Verification. All sections must be complete before you submit.
9
Submit for review
Go to App Review, submit the requested permissions, and wait for Meta’s approval.
Review Submission Pack
1. App use-case description (copy-paste)
1. App use-case description (copy-paste)
Use this when Meta asks for a detailed description of how your app uses the permission or feature requested, how it adds value for a person using the app, and why it’s necessary.
Our platform helps businesses onboard to WhatsApp Business API, manage customer conversations, and run messaging workflows from a centralized dashboard. We use Meta Embedded Signup so a business can connect its own WhatsApp assets directly inside our platform with explicit user consent. The requested permissions are necessary to complete onboarding, configure business assets, enable messaging, and optionally support catalog commerce features. Without these permissions, users cannot complete account connection or use WhatsApp messaging features in our app.
2. Scope-by-scope justification (copy-paste)
2. Scope-by-scope justification (copy-paste)
business_management — Our platform allows businesses to connect and manage their WhatsApp Business accounts. This permission is required to access business-level assets and enable account linking via embedded signup.whatsapp_business_management — This permission is required to manage WhatsApp Business account settings, phone numbers, and configurations after the user connects their account through our platform.whatsapp_business_messaging — Our platform enables users to send and receive WhatsApp messages, including automated notifications, campaigns, and customer conversations. This permission is essential for message delivery and communication workflows.catalog_management — This permission is used for businesses that utilize product catalogs. It allows syncing and managing catalog items for use in WhatsApp commerce features such as product messages and interactive flows.
3. Screen recording checklist
3. Screen recording checklist
Record one complete reviewer journey (5–12 minutes is recommended):
- Show your platform login and open Platform Settings → WhatsApp OAuth.
- Show the app is configured (mask the App Secret and tokens).
- Start Embedded Signup from the platform UI.
- Complete the Meta flow and grant the requested permissions.
- Show the WhatsApp account connected in the platform.
- Send a test message from the platform and show delivery and status.
- Receive a reply and show it appears in the inbox or webhook-driven view.
- If you’re requesting
catalog_management, show a catalog-related action.
4. Upload instructions
4. Upload instructions
- Upload the video to Google Drive (public link for reviewers) or as an unlisted YouTube video.
- Go to Meta App Dashboard → App Review → Permissions and Features.
- For each permission, paste the permission-specific justification, the reviewer test steps, and the video URL.
- Submit with test business credentials if the Meta reviewer requests them.
5. Pre-submission checklist
5. Pre-submission checklist
- App Review sections (Branding, Audience, Clients, Data Access, Verification) are completed.
- Requested permissions match the Required OAuth Scopes list above.
- Embedded Signup works end to end in your test account.
- The video shows the permission grant plus send and receive proof.
- Secrets are masked and reviewer credentials are prepared.
Meta verification can be complex and time-consuming. If you need help, contact our support team — verification setup is available as an add-on service.
Set up Twilio TURN for WhatsApp Calling
WhatsApp Calling relies on WebRTC, which can fail behind firewalls, strict NAT, or corporate networks. A TURN (Traversal Using Relays around NAT) server relays audio when a direct connection isn’t possible. Twilio TURN is recommended for reliable performance.- Sign up or log in at twilio.com and open the Twilio Console Dashboard.
- Copy your Account SID and Auth Token. These authenticate TURN requests.
- In the Twilio TURN (for WhatsApp Calling) section of this tab, enter the Twilio Account SID and Twilio Auth Token.
-
Click Test TURN. The platform generates the TURN URL, TURN Username, and TURN Credential automatically and reports whether a relay candidate was received.
Once the auth token is saved, you only need to enter a new one to replace it.
Forward Meta webhooks to another system
To copy incoming Meta webhook events to a second endpoint without changing your primary webhook, use Meta Relay. It forwards the raw payload and headers to your target URL, so you can feed automation tools, CRMs, or monitoring systems in parallel. Configure it in Meta Relay (self-managed instances only), and use Test Verification and Send Meta-Style Sample to validate it.Troubleshooting / Technical Notes
- “App Name, App ID, and App Secret are required.” Fill in all three before saving.
- Embedded Signup stops working after October 15, 2026. Your configuration IDs were created under Embedded Signup v2. Create new v4 configurations in Meta and update both IDs here.
- Incoming messages don’t arrive. Confirm the webhook callback URL and Verify Token match in Meta, and that the required events are selected.
- “No relay candidate found.” Check the Twilio Account SID, Auth Token, and any firewall rules, then click Test TURN again.
- Meta rejected the review. Missing permissions or an incomplete video are the most common causes. Make sure the video shows both the permission grant and a real send and receive.
- Webhook forwarding isn’t working. Verify that your target endpoint accepts
POSTrequests and returns a successful response.