

What is this?
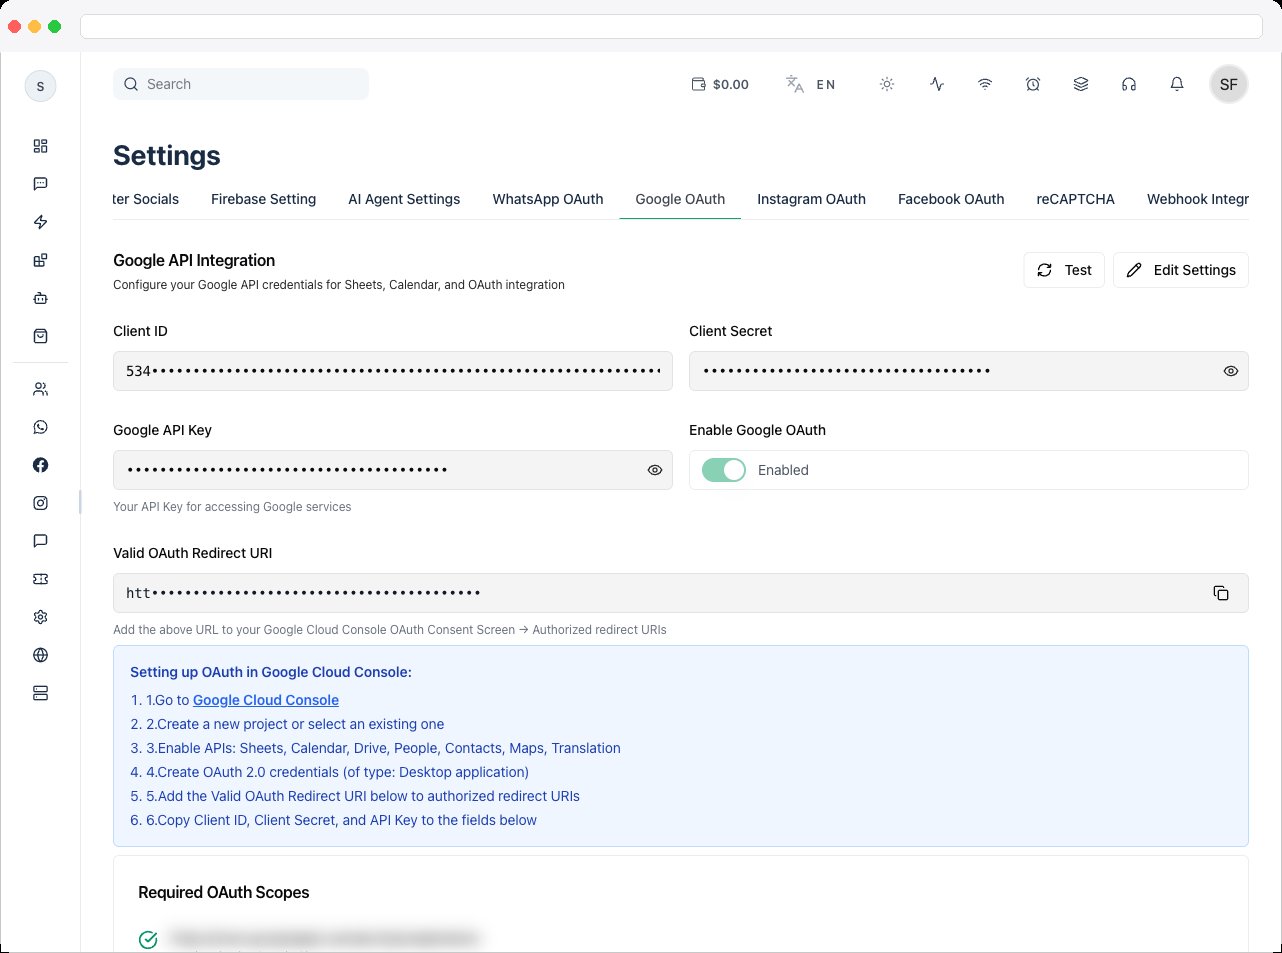
The Google OAuth tab connects your platform to Google services through OAuth, so users can securely link their own Google accounts. It’s essential for automation, data synchronization, and workflow enhancements. Once configured, users can connect their Google accounts to enable:- Google Sheets — read and write data for automation and syncing
- Google Contacts — import and sync contacts into the platform
- Google Calendar — create and manage events through automation
- User profile access — fetch basic user information
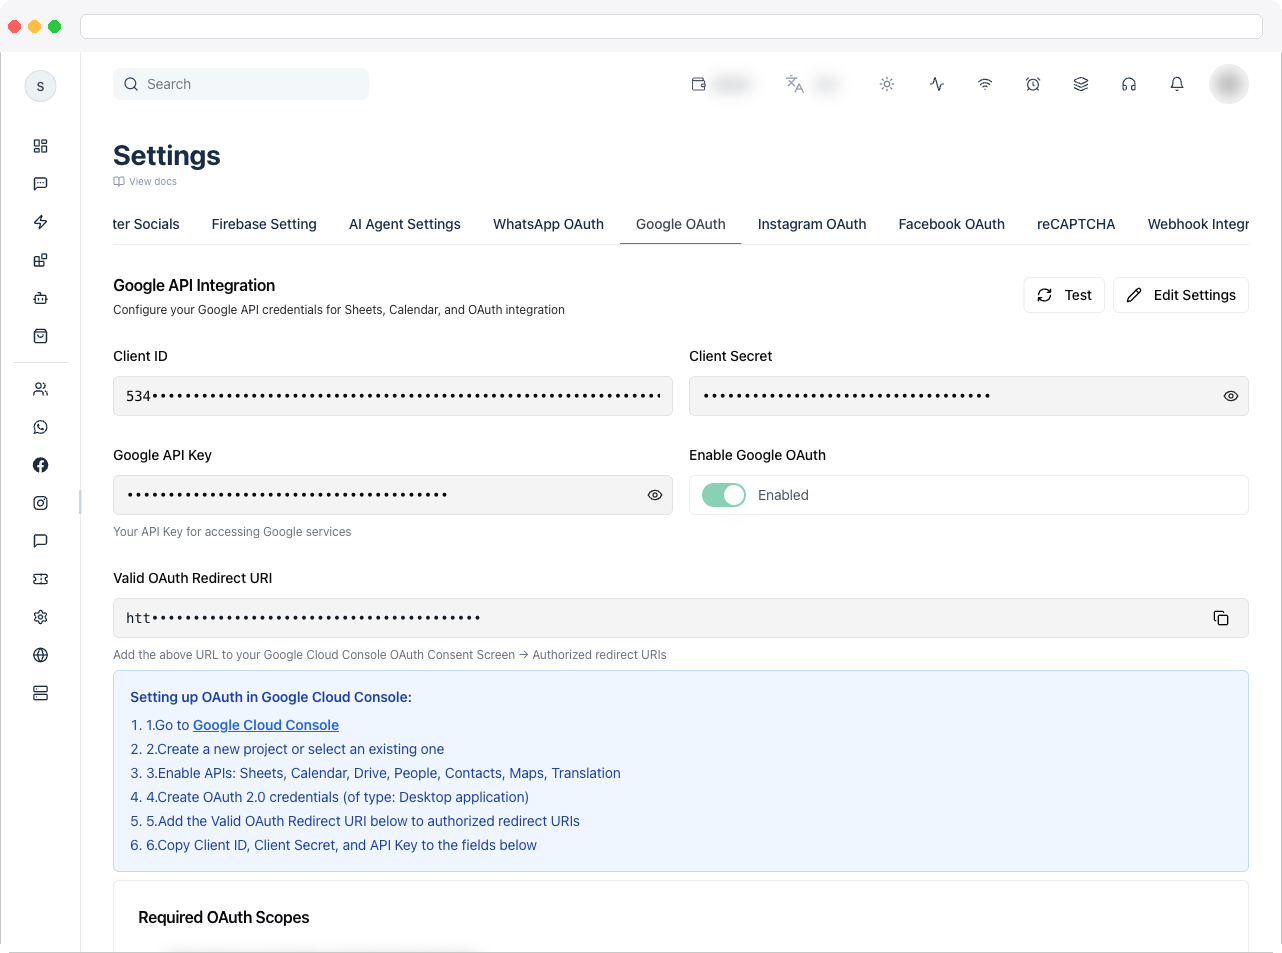
What can I do here?
- Save your Client ID, Client Secret, and Google API Key
- Turn Enable Google OAuth on or off
- Copy the Valid OAuth Redirect URI to add in Google Cloud Console
- Click Test to validate your Client ID and Client Secret with Google
- Review the Required OAuth Scopes
How to use it
Required OAuth scopes
Add these under OAuth consent screen → Data Access in Google Cloud Console:Configure Google OAuth
1
Open Google Cloud Console
Go to console.cloud.google.com.
2
Create or select a project
Create a new project or select an existing one.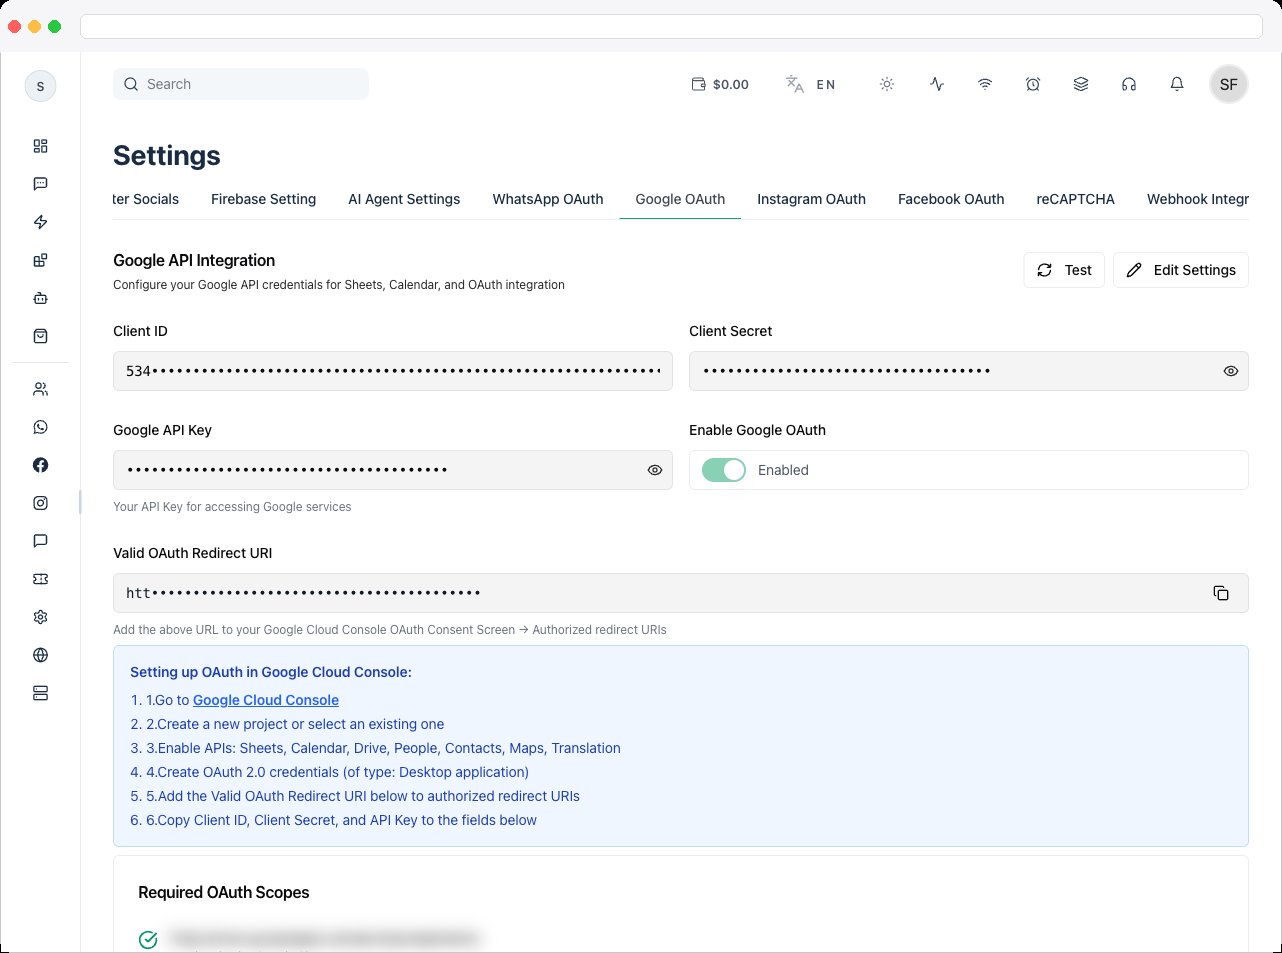
3
Enable the required APIs
Go to APIs & Services → Library and enable the Google Sheets API, Google Calendar API, Google People API (for contacts), Google Maps API (for Inbox), and Google Translate API (for Inbox).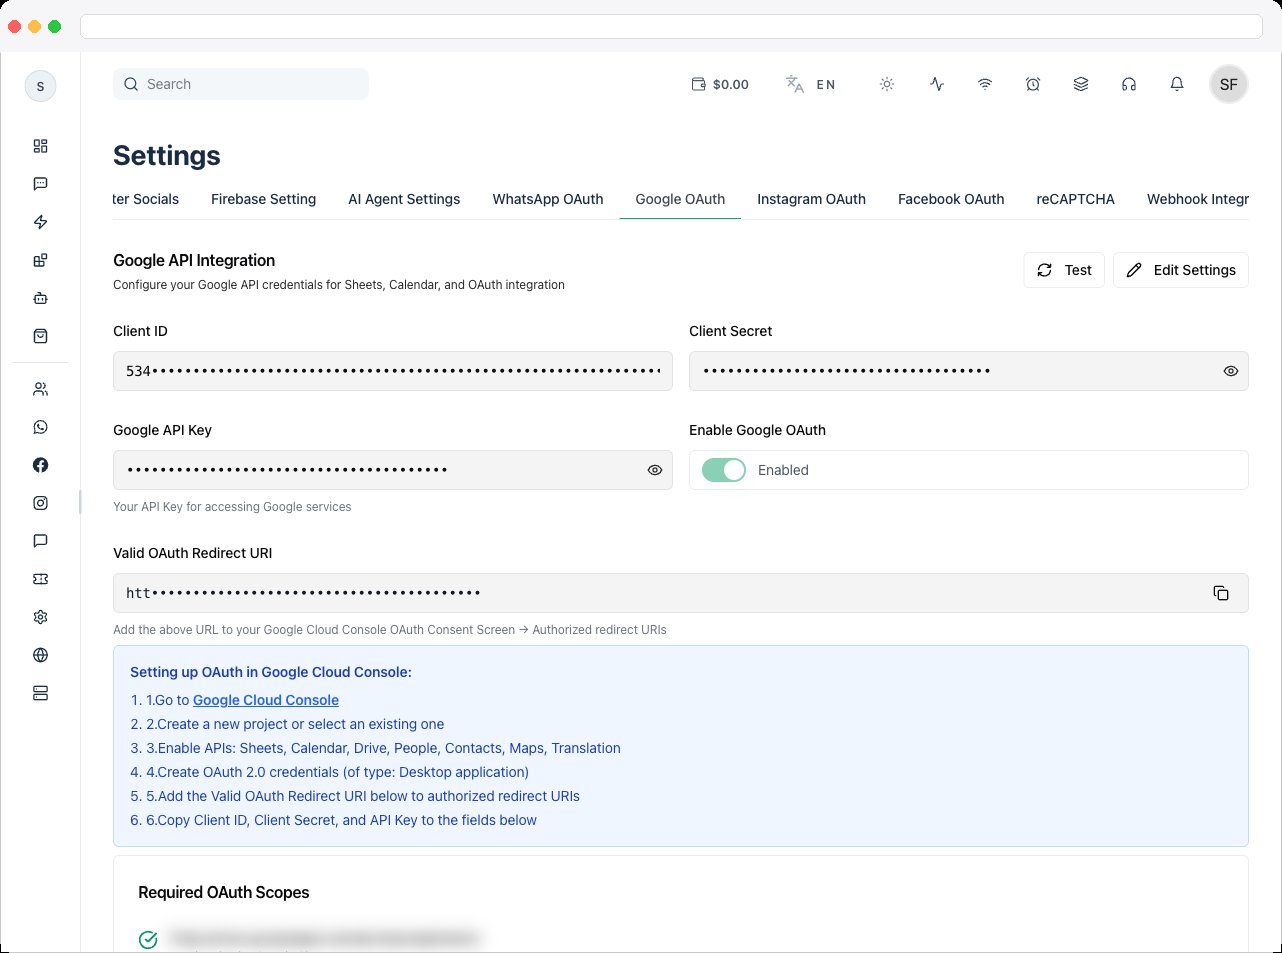
4
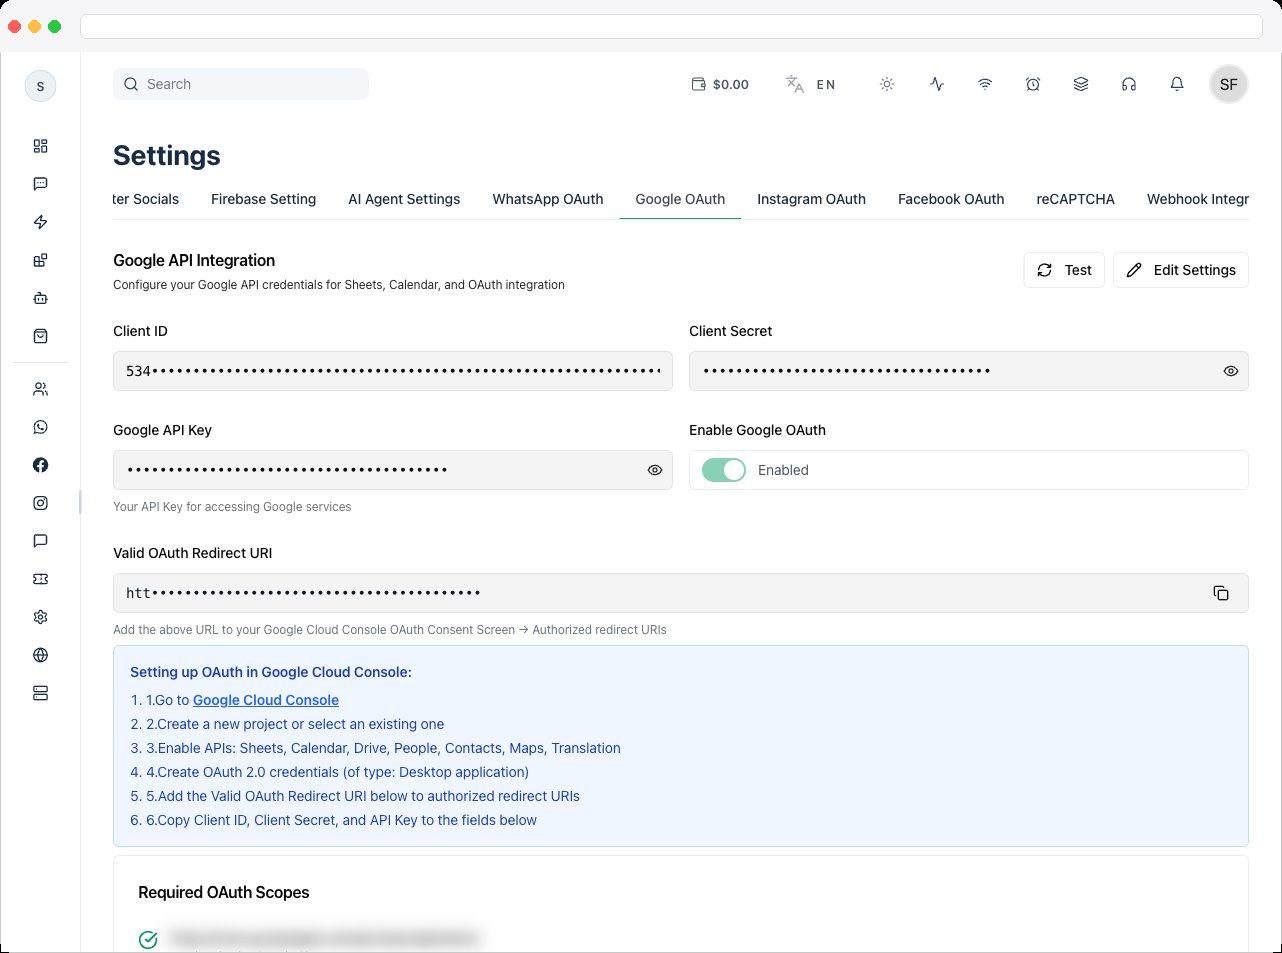
Complete OAuth consent setup and verification
Go to APIs & Services → OAuth consent screen and complete every section:
- Branding — application name, logo, support email
- Audience — internal or external users
- Clients — OAuth client configuration (see the next step)
- Data Access — add the scopes listed above
-
Settings — general app configuration
5
Create OAuth credentials
Go to APIs & Services → Credentials, click Create Credentials → OAuth Client ID, and choose Web Application. Under Authorized redirect URIs, add the exact Valid OAuth Redirect URI shown on this tab — it looks like 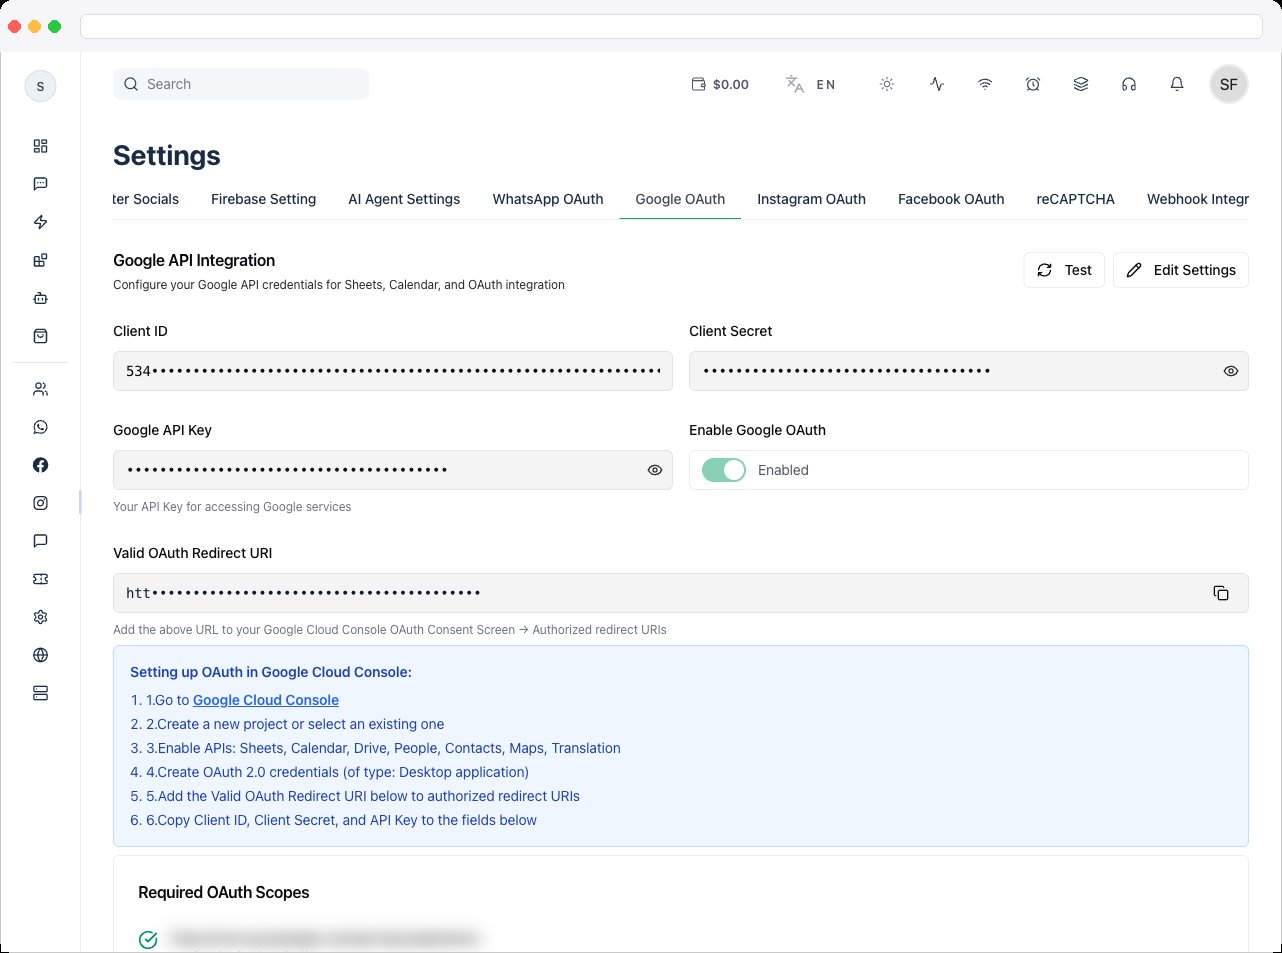
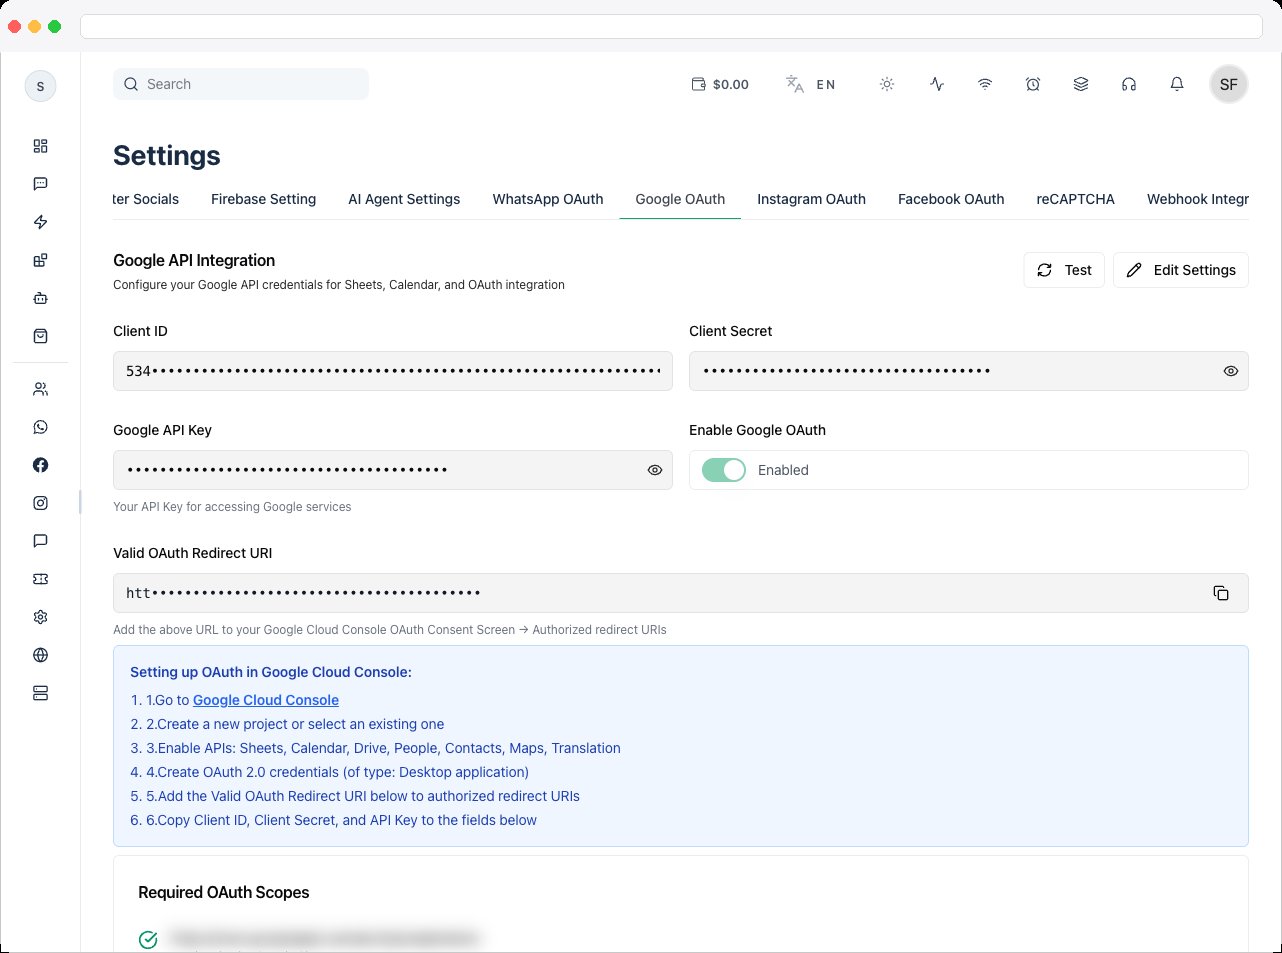
https://your-domain.com/api/auth/google/callback.6
Copy your credentials
Copy the Client ID, Client Secret, and API Key (from the Credentials section).
7
Save them in the platform
On this tab, click Edit Settings, paste the Google API Key, Client ID, and Client Secret, turn on Enable Google OAuth, and click Save Settings.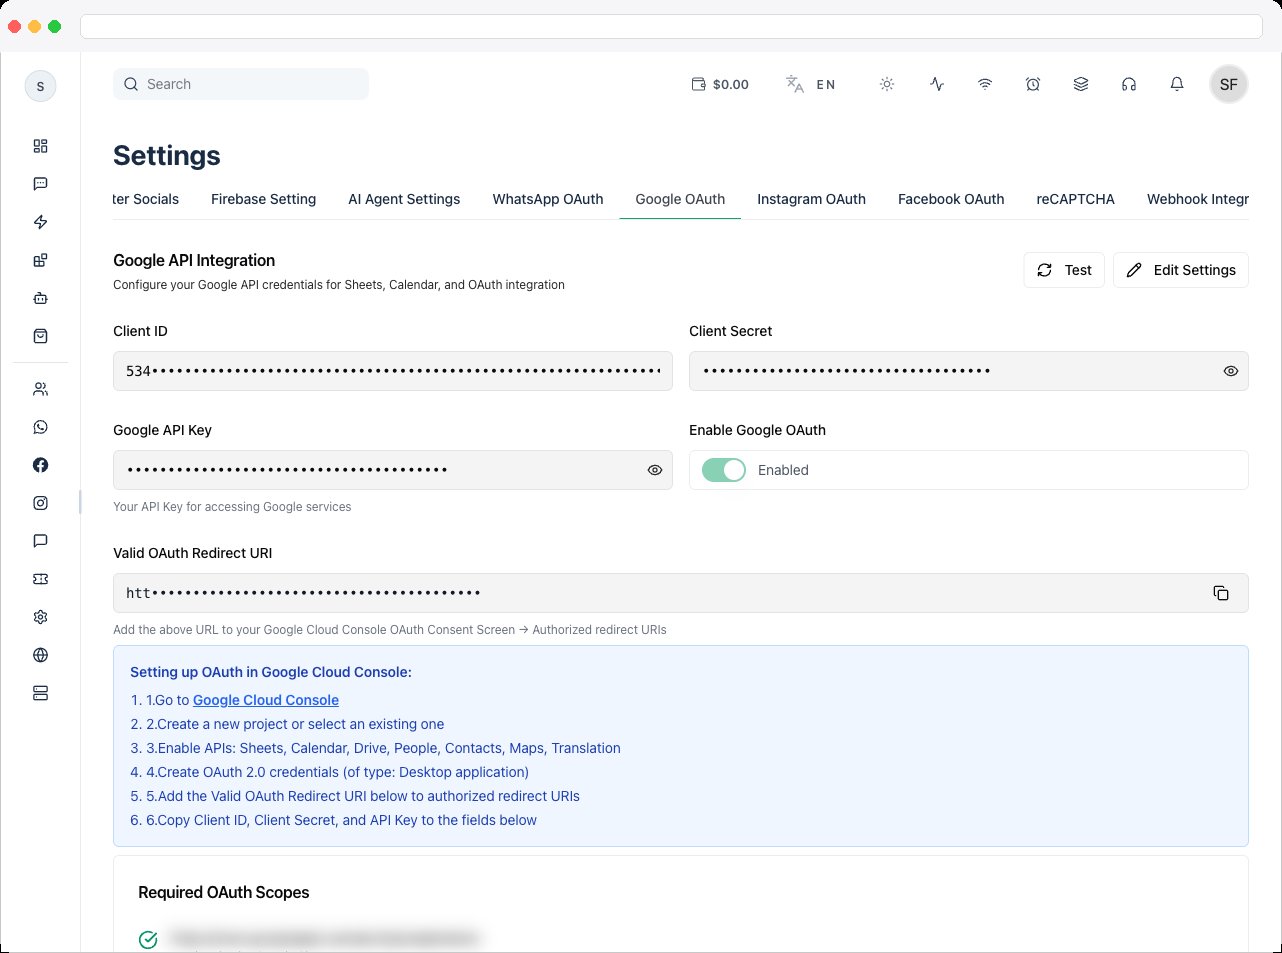
Test the integration
- Click Test to validate your Client ID and Client Secret with Google.
- Try connecting a Google account.
- Confirm that Sheets, Contacts, and Calendar access work correctly.
Review Submission Pack
1. App use-case description (copy-paste)
1. App use-case description (copy-paste)
Use this text when Google asks for a detailed description of how your app uses the permission or feature requested, how it adds value for a person using the app, and why it’s necessary.
Our platform is a business communication and automation system used by companies to manage contacts, conversations, workflows, and scheduling from one dashboard. Google OAuth is used so a signed-in user can securely connect their own Google account and authorize only the data access required for enabled features. We use the requested scopes to support three user-facing capabilities:These permissions are necessary because the features directly read or write user-owned Google resources after explicit user consent. Without these scopes, the connected features cannot function.
- Google Sheets sync for importing/exporting business data and automation records,
- Google Contacts sync for keeping customer/contact records updated,
- Google Calendar integration for creating and updating events from workflow actions.
2. Scope-by-scope justification (copy-paste)
2. Scope-by-scope justification (copy-paste)
spreadsheets — We use this scope to read and update Google Sheets selected by the user so they can sync platform data (such as contacts or workflow outputs) with spreadsheets they already use. This is required for sheet-based automation and reporting.contacts — We use this scope to import and sync contact records between the user’s Google Contacts and our platform’s contacts. This allows users to manage communication records in one place and keep data consistent.calendar — We use this scope to create and update Google Calendar events triggered by user actions and automation flows (for example reminders or booking follow-ups). It is necessary for calendar-based workflow execution.userinfo.email — We use this scope to identify which Google account is being connected and map it to the correct platform user/workspace for secure authorization and account linking.userinfo.profile — We use this scope to display basic profile identity during account linking and to reduce user errors when multiple Google accounts are available.
3. Screen recording checklist
3. Screen recording checklist
Google may ask for a video proving that sensitive scopes are used exactly as described.
- Show your platform URL and log in.
- Open Platform Settings → Google OAuth.
- Show the configured Client ID and the redirect URL domain (mask secrets).
- Click Connect Google and complete OAuth consent.
- Show the successful account connection in the UI.
- Demonstrate one action per requested sensitive scope:
- Sheets: import, export, or sync with a Google Sheet
- Contacts: import or sync a Google contact
- Calendar: create or update an event from the platform
- Show the result in both places (platform and Google product) to prove read and write behavior.
- Keep the video between 3 and 8 minutes.
- Use a real test account and the real UI flow (not slides).
- Add voice-over or captions explaining each step.
- Mask API keys, client secrets, and personal data.
- Don’t skip from login straight to the final state — show the full consent and usage flow.
4. Upload instructions
4. Upload instructions
- Upload the video as “Anyone with the link can view” (Google Drive or unlisted YouTube).
- Open Google Cloud Console → OAuth consent screen → Verification Center.
- Paste the video link in the verification evidence field.
- In “Scope justification”, paste the overall description plus the scope-by-scope text above.
- Submit, and keep test account credentials ready in case Google requests additional review access.
5. Pre-submission checklist
5. Pre-submission checklist
- OAuth consent screen fields are complete (branding, audience, scopes, support email).
- Requested scopes exactly match the Required OAuth Scopes list above.
- The redirect URI exactly matches your platform callback URL.
- The video link is publicly viewable to reviewers.
- Test user credentials are ready for reviewer follow-up.
Verification (important)
If your app is in production and uses sensitive scopes, Google may require OAuth verification. You may need to submit your app, provide a demo video, explain how data is used, and verify domain ownership.Security notes
- Keep your Client Secret secure.
- Never expose credentials in frontend code.
- Use HTTPS for all redirect URLs.
- Restrict API usage where possible.
Troubleshooting / Technical Notes
- Test fails. Re-check the Client ID and Client Secret, and confirm the redirect URI in Google Cloud Console exactly matches the Valid OAuth Redirect URI shown here.
- Only test users can connect. The app hasn’t completed Google’s OAuth verification yet.
- A feature is unavailable after connecting. Confirm the matching API (Sheets, Calendar, or People) is enabled in your Google Cloud project and the scope was added under Data Access.