

What is this?
Menu Manager lets you create and organize the navigation links in your platform’s landing page header. You decide which links appear, how they’re grouped, and in what order — useful for structuring your white-label website.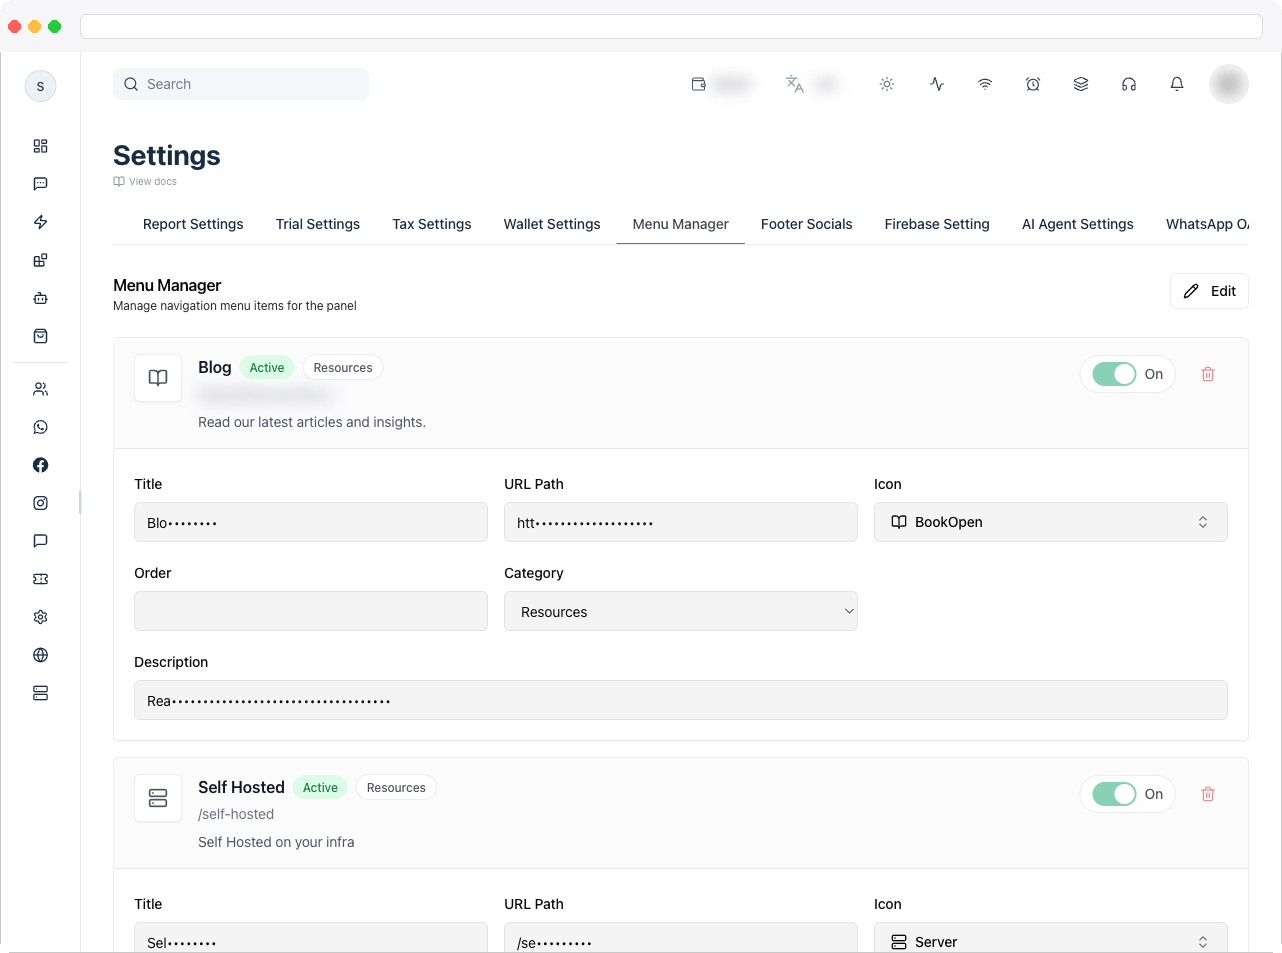
This tab requires the
platform:view permission.What can I do here?
- Add navigation items with Add Item
- Set each item’s Title, URL Path, Icon, Order, and optional Description
- Group items into a Category: Resources or Solutions
- Link to internal pages or external websites
- Edit or remove existing items
- Control the display order — lower order values appear first
How to use it
- Go to Platform Settings → Menu Manager and click Add Item.
- Enter a Title — the label visitors see.
-
Enter the URL Path. Use a path such as
/pricingfor an internal page, or a full URL for an external site. -
Pick an Icon with the icon search box, and choose a Category (Resources or Solutions).

- Set the Order and, optionally, a short Description.
- Click Save Settings to publish the change. Use Cancel to discard it.

Common uses
- link to your blog or documentation
- add support or contact pages
- group product or feature pages under Solutions
- point to external resources under Resources
Troubleshooting / Technical Notes
- “No menu items yet.” Click Add Item to create the first navigation entry.
- My changes don’t appear on the landing page. Click Save Settings — edits are only applied once saved. Also confirm Landing Page Active is on in General Settings.
- An item shows in the wrong place. Adjust its Order value — lower numbers appear first.
- “You don’t have permission to access this page.” Ask an administrator for
platform:viewaccess.